
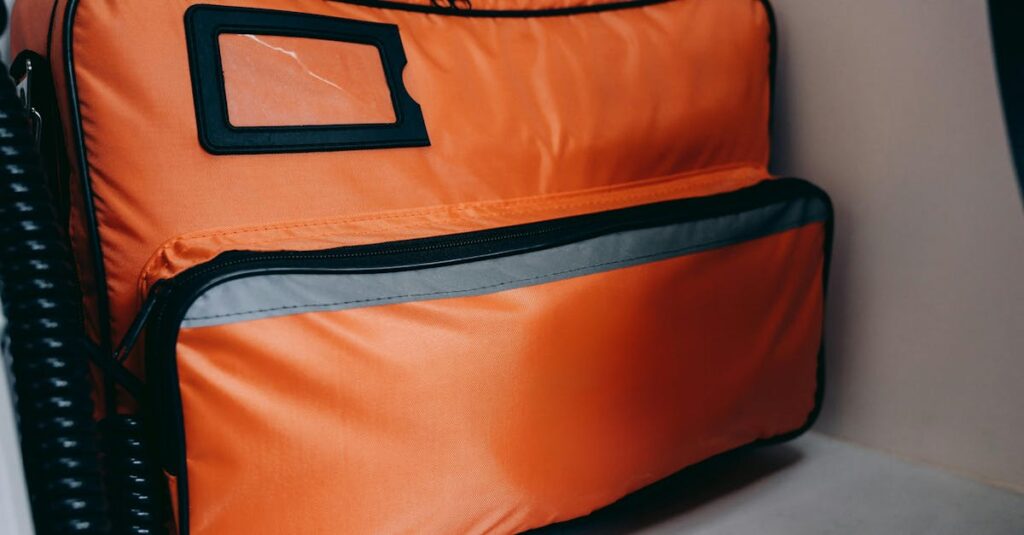
Welcome, future prepper! Building your first 72-hour emergency kit, often called a ‘bug-out bag’ or ‘go-bag,’ is one of the most crucial steps you can take for personal and family preparedness. It’s not about fear; it’s about peace of mind and practical readiness. This step-by-step guide will walk you through everything you need to know, from understanding the ‘why’ to packing the essentials, ensuring you’re ready to face unexpected emergencies with confidence. Let’s get started!
1. Understanding the ‘Why’ Behind Your 72-Hour Kit
What is a 72-Hour Kit (aka Bug-Out Bag)?
It’s a portable collection of essential supplies designed to sustain you and your family for at least three days (72 hours) in the event of an emergency that forces you to evacuate your home or shelter in place without immediate access to utilities or resources. Think of it as your personal safety net, ready to grab and go.
Common Scenarios Requiring a Quick Evacuation
Emergencies can strike without warning. Consider natural disasters like floods, wildfires, hurricanes, earthquakes, or even man-made incidents such as widespread power outages, chemical spills, or civil unrest. These situations often demand quick action and self-sufficiency, making a pre-packed kit invaluable.
The Peace of Mind Factor
Having your essentials packed and ready significantly reduces stress and improves your chances of safety and comfort during a crisis. It shifts your mindset from reactive panic to proactive readiness, giving you and your loved ones a tangible sense of security.
2. The Foundation: Choosing the Right Bag
Backpack vs. Duffel: What’s Best for You?
When selecting your bag, prioritize mobility. A backpack is generally preferred over a duffel bag for ease of carrying, especially if you might be on foot for any distance. A well-fitted backpack distributes weight evenly, making it much more manageable.
Key Features to Look For (Durability, Capacity, Comfort)
Opt for a sturdy, water-resistant bag made from durable materials like ripstop nylon or Cordura. Look for a capacity typically between 30-50 liters for an individual kit – enough space for essentials without being overly bulky. Padded shoulder straps, a hip belt, and adjustable sternum straps are crucial for comfort, especially if you need to carry it for extended periods.
Don’t Overpack Your First Bag
It’s tempting to pack everything you might need, but resist the urge. Focus on essentials. A heavy bag is a useless bag if you can’t carry it effectively. You can always refine and add more specialized items later, but start with a manageable weight.
3. Essential Categories of Supplies (The Core Seven)
Water & Hydration
Water is paramount for survival.
- Water bottles or hydration bladder: Carry at least 1 liter per person.
- Water purification tablets or a portable filter: Crucial for making found water safe to drink.
- Emergency water pouches: Shelf-stable and ready-to-drink, great for immediate needs.
Food & Nutrition
Pack high-calorie, non-perishable food that requires no cooking.
- Non-perishable, high-calorie, easy-to-eat items: Energy bars, dried fruit, nuts, jerky, MREs (Meals Ready-to-Eat), or survival tabs are excellent choices.
- A manual can opener: Essential if you include any canned goods.
Shelter & Warmth
Protect yourself from the elements.
- Emergency blanket or sleeping bag: A Mylar emergency blanket is compact and reflects body heat. A lightweight sleeping bag is better for colder climates.
- Lightweight tarp or poncho for makeshift shelter: Provides protection from rain and wind.
- Extra layers of clothing: Choose weather-appropriate, moisture-wicking fabrics. Include a hat, gloves, and a rain jacket.
First Aid & Hygiene
Stay healthy and prevent infection.
- Comprehensive first aid kit: Include bandages, antiseptic wipes, pain relievers, gauze, medical tape, and any personal prescription medications (at least a 3-day supply).
- Personal medications: Don’t forget any daily prescriptions.
- Hand sanitizer, wet wipes, toilet paper, toothbrush, toothpaste: Basic hygiene items are vital for comfort and preventing illness.
Tools & Utilities
These items provide practical solutions in a crisis.
- Multi-tool or sturdy knife: Indispensable for countless tasks.
- Flashlight (LED preferred) with extra batteries: LED lights are brighter and more energy-efficient.
- Headlamp: Frees up your hands for tasks.
- Fire starter: Waterproof matches, a reliable lighter, or a ferro rod are all good options.
- Duct tape, cordage (paracord): Versatile for repairs, securing items, or building shelter.
Communication & Navigation
Stay informed and find your way.
- Whistle for signaling: A simple, effective way to alert others to your presence.
- NOAA weather radio (hand-crank or battery-powered): Essential for receiving emergency broadcasts.
- Local maps and a compass: Know your area, and learn how to use a compass before you need it.
- Fully charged power bank for cell phone: Keep your communication device powered as long as possible.
Personal Documents & Cash
Crucial for identification and transactions.
- Copies of important documents: Store IDs, insurance policies, birth certificates, and emergency contacts in a waterproof bag.
- Small denominations of cash: ATMs and credit card machines may not work during a power outage or disaster.
4. Beyond the Basics: Customizing Your Kit
Specific Needs (Babies, Pets, Elderly, Medical Conditions)
Your kit isn’t one-size-fits-all. Tailor it to your family’s unique requirements. This means including formula, diapers, baby wipes, pet food, a leash, specific medications, or comfort items for vulnerable family members.
Regional Considerations (Climate, Local Hazards)
Where you live dictates specific additions. If you’re in a cold climate, add more warm layers, hand warmers, and perhaps a warmer sleeping bag. In a hurricane zone, prioritize extra water purification and a robust rain gear. Earthquake-prone areas might warrant sturdy shoes and dust masks.
Comfort Items (Book, Toy, Pen & Paper)
During stressful times, small items that provide distraction or comfort are invaluable. A favorite small toy for a child, a paperback book, a deck of cards, or a pen and paper can help maintain morale and provide a sense of normalcy.
5. Assembling Your Kit: A Step-by-Step Checklist
Gather All Items
Lay everything out on a large surface. This visual inventory helps you see what you have, what you still need, and how much space everything takes up.
Organize and Pack Logically (Weight Distribution, Accessibility)
Pack heavier items low and close to your back for better balance and comfort. Items you might need quickly – like your first aid kit, flashlight, or water filter – should be easily accessible, perhaps in an outer pocket or at the top of the main compartment. Use stuff sacks or Ziploc bags to organize smaller items and protect them from moisture.
Create a Master Inventory List
Write down every item in your bag. Keep a laminated copy inside your kit and a digital copy on your phone or computer. This list is invaluable for maintenance checks and ensures nothing is forgotten when you need to restock or update.
6. Maintaining Your Kit: It’s Not a One-Time Job
Regular Inspections and Replacements (Food, Water, Batteries)
Your kit is a living entity. Check it thoroughly every 6-12 months. Rotate food and water supplies to prevent spoilage, replace expired medications, and check battery life in flashlights and radios. Consider replacing items that have degraded or been used.
Practice and Familiarization
Don’t just pack it and forget it. Know what’s in your bag and how to use it. Practice packing it, and even try carrying it for a short distance to get a feel for its weight and comfort. Familiarity builds confidence.
Store in an Accessible Location
Keep your kit in a readily accessible place where you can grab it quickly. This might be a closet near an exit, in your car’s trunk, or under your bed. The goal is to minimize the time it takes to get your hands on it when an emergency strikes.
Conclusion
Congratulations! You’ve taken the essential steps to build your first 72-hour emergency kit. This isn’t just a bag of supplies; it’s an investment in your safety and peace of mind. Remember, preparedness is an ongoing journey, not a destination. Regularly review and update your kit, practice using its contents, and stay informed about potential local hazards. With your kit ready, you’re not just prepared; you’re empowered.