
Unexpectedly outdoors without a sleeping bag? Learn practical, field-tested strategies to stay warm and safe. Master insulation, shelter building, and body heat management.
The Core Principles of Staying Warm
To effectively combat cold, you need to understand the fundamental principles that govern heat loss and retention. These aren’t just theories; they’re the bedrock of staying alive in a cold environment.
Insulation is Key
Insulation works by trapping air. Air is a poor conductor of heat, so a layer of still air between you and the cold environment slows down heat transfer from your body. Think of a down jacket: it’s mostly air. Your clothing, your shelter, and even your bedding should aim to create these pockets of trapped air. Layers are crucial because they create multiple air pockets and allow you to adjust your insulation as conditions or your activity level changes.
Block Wind and Moisture
Wind chill and dampness are your biggest enemies. Wind strips away the warm air trapped in your clothing and around your body, drastically increasing heat loss. Even a slight breeze can make a significant difference. Moisture, whether from rain, snow, or sweat, conducts heat away from your body twenty-five times faster than dry air. Staying dry is non-negotiable for warmth. Prioritize blocking wind and shedding moisture above almost everything else.
Generate and Retain Body Heat
Your body is a furnace, constantly generating heat. Your primary goal is to keep that heat from escaping. This involves fueling your body properly, minimizing heat loss through conduction, convection, radiation, and evaporation, and actively working to retain the warmth you produce. Every strategy discussed here ultimately serves this purpose.
Improvise Your Shelter
Your shelter is your first line of defense against the elements. Even without a tent, you can create effective protection.
Natural Shelters
Look for natural features that offer immediate protection. A lean-to can be quickly constructed against a fallen log or large rock using branches and debris. A debris hut, built by piling leaves, pine needles, and other organic material over a sturdy frame, offers incredible insulation. In snowy conditions, a snow cave or quinzee can be surprisingly warm, as snow itself is an excellent insulator. Always ensure proper ventilation if you’re building a snow shelter.
Using a Tarp or Poncho
If you have a tarp, poncho, or even a large plastic sheet, you have a versatile shelter material. Pitch it as a lean-to, an A-frame, or a simple ground sheet with an overhead cover. Use cordage, sturdy sticks, or even rocks to secure it. The goal is to create a barrier against wind, rain, and snow, and to reflect some of your body heat back towards you.
Finding Natural Windbreaks
Before you even start building, scout your location for natural windbreaks. Large rock formations, dense stands of evergreen trees, thick brush, or the lee side of a fallen tree can significantly reduce wind exposure. Setting up your improvised shelter behind one of these features will save you a lot of effort and provide superior protection.
Layer Up, Even Without ‘Proper’ Gear
Layering is a fundamental principle of staying warm. You can apply this even with non-traditional clothing items.
The Base Layer: Wicking Moisture
Your base layer is the clothing directly against your skin. Its primary job is to wick moisture (sweat) away from your body. If you have synthetic athletic wear, use it. If not, even a thin cotton t-shirt is better than nothing, but be aware that cotton absorbs moisture and loses its insulating properties when wet. The key is to stay as dry as possible against your skin.
The Mid-Layer: Trapping Air
This is your insulation layer. Pile on whatever you have: sweaters, fleeces, extra shirts, even a jacket worn inside out if its lining is fluffy. The more layers you have, the more air pockets you create, and the warmer you’ll be. Don’t be afraid to get creative; a newspaper stuffed under a shirt can add surprising insulation.
The Outer Layer: Wind and Water Protection
Your outermost layer needs to be a barrier against wind and moisture. A rain jacket, a poncho, or even a large trash bag (with holes for your head and arms) can serve this purpose. This layer protects your insulating mid-layers from getting wet and prevents wind from stripping away your warmth. It doesn’t need to be thick; its job is protection, not insulation.
Don’t Forget Head, Hands, and Feet
You lose a significant amount of heat through your head, hands, and feet. Cover your head with a hat, a bandana, or even a spare shirt wrapped around it. Protect your hands with gloves, socks, or by tucking them into your armpits or pockets. For your feet, layer socks if you have them, and keep them dry. If your shoes aren’t waterproof, consider wrapping your feet in plastic bags before putting on your shoes to create a moisture barrier.
Build a Better Bed (Ground Insulation)
Sleeping directly on the cold ground is one of the fastest ways to lose body heat. You need a barrier.
The Importance of a Ground Barrier
The ground acts as a massive heat sink, drawing warmth directly from your body through conduction. Even if the air is relatively mild, cold ground will chill you quickly. A thick insulating layer between you and the earth is just as important as the layers you wear.
Natural Materials for Insulation
Gathering natural materials is an effective way to create a warm bed. Collect a thick layer (at least 6-12 inches compressed) of dry leaves, pine needles, ferns, or dry grass. Pile it up where you plan to sleep. This creates a natural mattress that traps air and insulates you from the cold ground. Ensure the materials are genuinely dry; damp materials will make you colder.
Improvised Pads
If you have a backpack, empty it and lay it flat as a ground pad. Stuff extra clothing into a stuff sack or even a plastic bag to create a makeshift pillow or small pad for your torso. A rolled-up jacket or a stack of newspapers can also provide some crucial separation from the cold ground. Every inch of separation helps.
Harness Your Body’s Heat
Your body is your primary heat source. Learn to manage it effectively.
Stay Hydrated and Fed
Your body needs fuel to generate heat. Eat whatever food you have, especially calorie-dense items. Drink water regularly, even if you don’t feel thirsty. Dehydration impairs your body’s ability to regulate temperature. Warm drinks, if you can make them, are a bonus.
Gentle Movement (But Don’t Sweat!)
If you start to feel too cold, gentle exercise can help warm you up. Do some jumping jacks, push-ups, or walk around. The key is to get your blood flowing without breaking a sweat. Sweating will make your clothes damp, leading to rapid cooling once you stop moving. If you feel yourself getting warm, slow down or remove a layer temporarily.
The Buddy System (If Applicable)
If you’re with a companion, sharing body heat is incredibly effective. Huddle together, ideally in a shared improvised shelter. The combined body heat of two or more people can make a significant difference in a cold environment. This is a proven survival tactic.
Hot Water Bottles (If Possible)
If you have a metal water bottle or a sturdy, heat-resistant container and a way to heat water, this is a game-changer. Heat water (don’t boil it to bursting point if using plastic), pour it into the container, and wrap it in a sock or cloth. Place it inside your clothing, near your core, or at your feet. It provides sustained, localized warmth.
Emergency Fire and Heat Sources (Use with Caution)
Fire is a powerful tool for warmth and morale, but it requires careful management.
Building a Small, Safe Fire
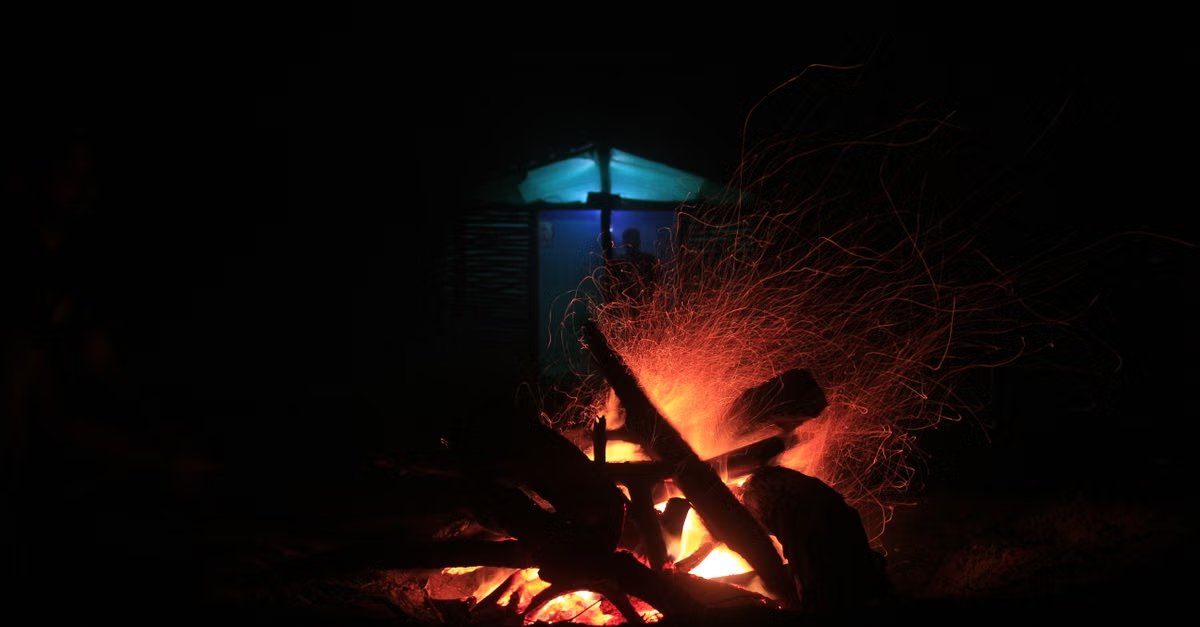
If conditions allow and you have the skills, a small, controlled fire can provide significant warmth. Focus on building a small, efficient fire that you can easily manage. Clear a wide area around your fire pit of any flammable materials. Keep water or dirt nearby to extinguish it. A small fire built in a sheltered spot, perhaps with a reflector wall behind it, will maximize its heat output towards you. Never build a fire inside an enclosed, unventilated shelter due to carbon monoxide risk.
Hot Rocks (Wrapped Safely)
Heat some fist-sized rocks in your fire. Once they’re hot (but not glowing red or cracking), carefully remove them. Wrap them in cloth, extra clothing, or even large leaves. Place these wrapped hot rocks inside your improvised shelter or near your body. They will radiate warmth for a surprising amount of time. Be cautious not to burn yourself or your gear.
Hand Warmers and Chemical Heat Packs
If you happen to have these small, disposable heat sources, use them strategically. Place them in your gloves, socks, or against major arteries like your neck or groin. They provide concentrated warmth that can help prevent frostbite and keep your core temperature up. Don’t underestimate their effectiveness in a pinch.
Conclusion
Staying warm at night without a sleeping bag is absolutely achievable with the right mindset and practical application of survival principles. Remember, it’s all about insulation, protection from the elements, and smart body heat management. By improvising shelters, layering your clothing, insulating from the ground, and utilizing available heat sources, you can turn a potentially dangerous situation into a manageable one. Always prioritize preparedness, but know that even without ideal gear, you have the power to stay safe and warm.