
Hey there, friend! Grab a coffee, because we’re about to dive into something super cool and, honestly, pretty vital: how to find your way when your fancy gadgets fail you. We’re talking about “How to Navigate Without a Compass: 7 Natural Methods” – basically, using the incredible wisdom of nature itself to point you in the right direction.
Imagine this: you’re out on a beautiful hike, enjoying the peace and quiet, maybe a little too much. One minute you’re on the trail, the next, you’ve taken a wrong turn, and suddenly, the path looks… unfamiliar. Your phone’s dead, your GPS watch decided to take a nap, and that trusty compass? Well, you left it on the kitchen counter, didn’t you? Panic starts to creep in. What do you do?
Or maybe you’re just curious. Can you really tell direction by looking at a tree? Does the moon actually have a secret message for us? It sounds a bit like magic, doesn’t it? But let me tell you, it’s not magic at all. It’s pure, brilliant observation – the kind our ancestors relied on for millennia. It’s about learning to read the subtle, constant clues that the world around us is always giving.
So, how do you navigate without a compass? In a nutshell, you learn to read the sun, the stars, the plants, the wind, the water, and even the animals. These aren’t just pretty things to look at; they’re your natural compass, your map, and your guide, all rolled into one. And once you start seeing them that way, the outdoors becomes an even more amazing place. Let’s get into it!
Why You Absolutely Need to Know Natural Navigation
Let’s get real for a second. In our tech-driven world, it’s easy to think a GPS device or a smartphone app has got us covered. And most of the time, they do! But what happens when that battery icon turns red and then, poof, it’s gone? Or when your expensive compass takes a tumble and breaks? These things happen, and when they do, knowing how to navigate naturally isn’t just a cool party trick; it’s a vital skill that could literally be a lifesaver.
Think of it as your ultimate backup plan, your personal superpower for the outdoors. Learning these methods isn’t just about avoiding getting lost; it’s about building a deep sense of self-reliance and confidence. When you know you can find your way even without gadgets, you approach every adventure with a stronger, calmer mindset. It connects you to the environment in a way that simply following a screen can’t. You start noticing things, understanding patterns, and feeling more at home in the wild. It’s empowering, truly. Plus, it makes you a much more interesting person to hike with, trust me!
Your Celestial Guides: The Sun and Moon
Alright, let’s look up! The sky is probably the most reliable navigation tool you’ve got, day or night.
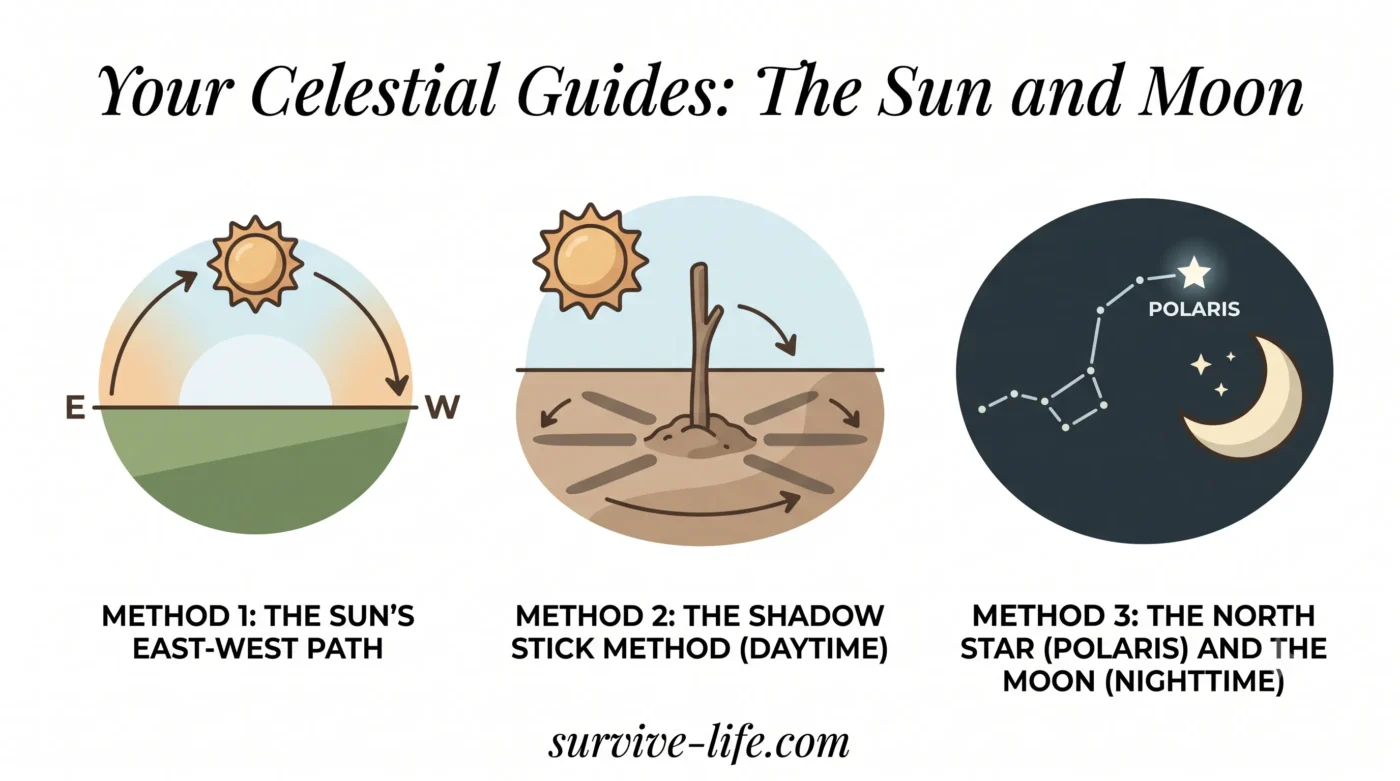
Method 1: The Sun’s East-West Path
This one’s pretty fundamental, and you probably already know bits of it. The sun always rises roughly in the east and sets roughly in the west. “Roughly” is the key word here, as its exact position changes with the seasons and your latitude. But for a general sense of direction, it’s incredibly useful.
- Morning: If the sun is rising, you’re facing east.
- Midday: Around noon (solar noon, not necessarily 12:00 PM on your watch), the sun will be at its highest point in the sky. In the Northern Hemisphere, it will be due south. In the Southern Hemisphere, it will be due north.
- Evening: If the sun is setting, you’re facing west.
This gives you a great starting point. If you know you need to head generally north, and the sun is setting (west), you know north is to your right. Simple, right?
Method 2: The Shadow Stick Method (Daytime)
This is a classic for a reason – it’s surprisingly accurate and only requires a stick and a bit of patience.
- Find a straight stick: About 2-3 feet long works well.
- Stick it upright in the ground: Make sure it casts a clear shadow.
- Mark the tip of the shadow: Place a small stone or twig exactly where the shadow’s tip falls. This is your “first mark.”
- Wait 15-20 minutes: The sun will move, and so will the shadow.
- Mark the new tip of the shadow: Place another stone or twig at the new shadow tip. This is your “second mark.”
- Draw a line: Connect your first mark to your second mark. This line runs roughly east-west. The first mark is always west, and the second mark is always east.
- Find North/South: Once you have your east-west line, stand with your left foot on the first (west) mark and your right foot on the second (east) mark. You’ll be facing roughly north in the Northern Hemisphere, and roughly south in the Southern Hemisphere.
Pretty neat, huh? It’s a bit like creating your own sundial!
Method 3: The North Star (Polaris) and the Moon (Nighttime)
When the sun goes down, the stars come out to play, and one in particular is your best friend: Polaris, the North Star.
Finding Polaris: In the Northern Hemisphere, Polaris is almost directly above the North Pole, meaning it stays in roughly the same spot in the sky all night long. It’s not the brightest star, but it’s part of the Little Dipper. To find it, first locate the Big Dipper. Imagine a line extending from the two “pointer stars” at the end of the Big Dipper’s bowl. Follow that line across the sky, and the next bright star you hit is Polaris. Once you’ve found it, you’re facing north! Easy peasy.
Using the Moon: The moon can also be a guide, though it’s a bit trickier because its path changes.
- Full Moon: A full moon rises roughly in the east and sets roughly in the west, just like the sun.
- Crescent Moon: This is where it gets interesting. If you’re in the Northern Hemisphere, imagine drawing a line connecting the two “horns” of a crescent moon. Extend that line down to the horizon, and it will point roughly south. In the Southern Hemisphere, it’ll point roughly north. This isn’t super precise, but it can give you a general idea if you’re really stuck.
Reading Nature’s Ground-Level Map: Plants, Wind, and Water
Okay, so we’ve looked up. Now let’s look around us, at the amazing clues the earth itself provides.
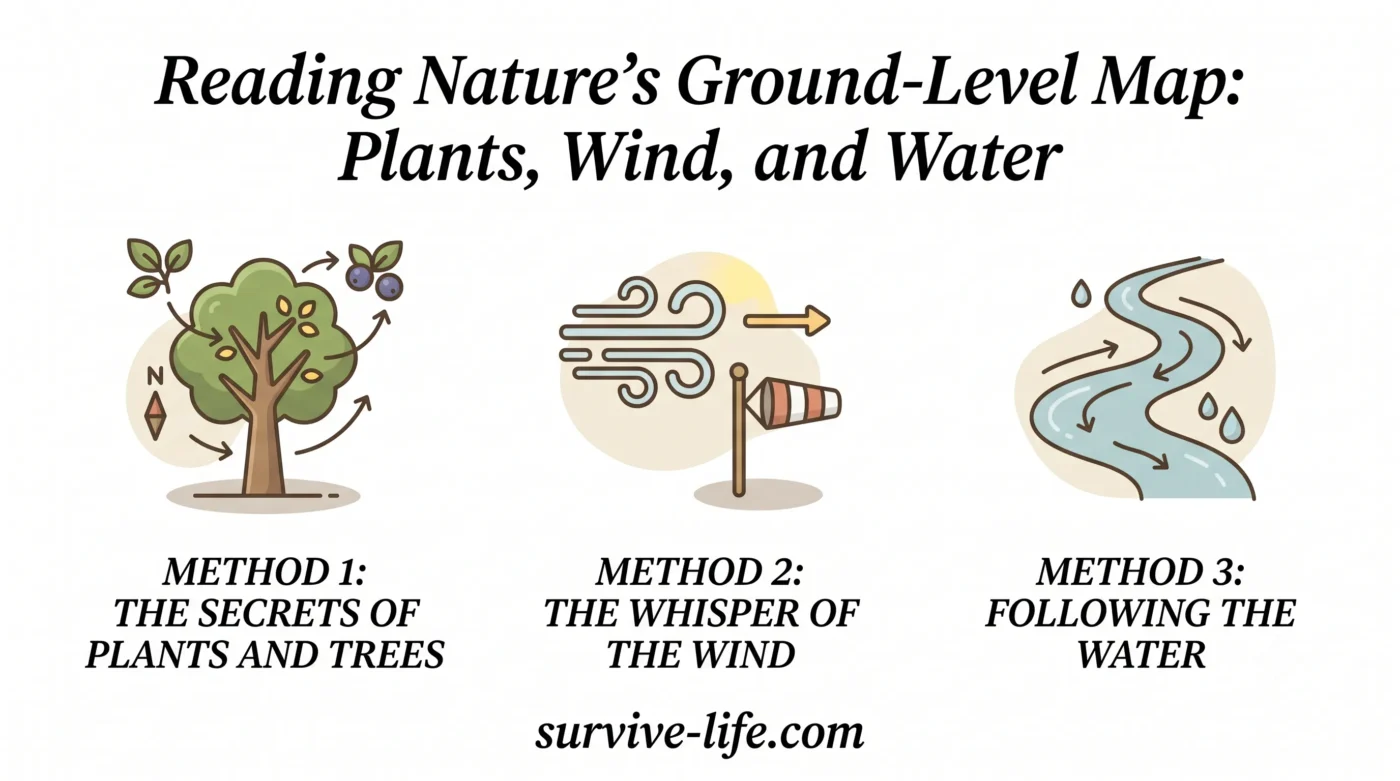
Method 1: The Secrets of Plants and Trees
Plants are incredible indicators, if you know what to look for.
- Moss on Trees: This is a classic, but often misunderstood! The old saying “moss grows on the north side of trees” isn’t always 100% accurate. Moss loves shade and moisture. In the Northern Hemisphere, the north side of a tree generally gets less direct sunlight, so it can have more moss. However, local conditions like dense canopy, prevailing winds, or proximity to water can affect this. Instead of just looking for any moss, look for denser, thicker moss growth on one side of multiple trees in an open area. If there’s a consistent pattern, that’s your clue. It’s more about comparing sides than just finding moss.
- Tree Growth: Trees often grow more vigorously on the side that receives more sunlight. In the Northern Hemisphere, this would be the south side. So, look for thicker branches, more leaves, or even a slightly larger trunk diameter on the sunnier side. Again, look for patterns across several trees.
- Sunflowers: These guys are famous for “following the sun.” While mature sunflowers tend to face east, younger ones will actually track the sun throughout the day, moving from east to west. If you see a field of them, they’re giving you a pretty clear east direction!
Method 2: The Whisper of the Wind
Wind can be a surprisingly consistent guide, especially if you know the prevailing wind patterns of an area.
- Wind-Shaped Trees (Flagging): In areas with strong, consistent winds (like coastlines or exposed ridges), trees can become “flagged.” This means their branches and foliage are permanently bent and stunted on the side facing the prevailing wind, while the opposite side grows more freely. The stunted side points towards where the wind comes from. If you know the prevailing winds in your region (e.g., often from the west), this can give you a strong directional clue.
- Snow Drifts: Similar to flagging, snow drifts will build up on the leeward (downwind) side of obstacles. If you know the prevailing wind direction during snowfall, you can use this to infer direction.
Method 3: Following the Water
Water is one of the most reliable guides, especially if you’re trying to get to civilization.
- Streams and Rivers: Water always flows downhill, right? And eventually, most streams and rivers lead to larger bodies of water, which often means towns, roads, or at least more navigable terrain. If you’re lost in hilly or mountainous terrain, following a stream downhill is usually a good bet to find your way out. Just be mindful of cliffs, waterfalls, or impassable gorges.
- Erosion Patterns: Look at how water has eroded the landscape. Gullies and ravines will generally point downhill.
Animal Instincts and Other Subtle Clues
Animals are often better navigators than we are, and they leave clues!
Method 1: Animal Trails, Migration, and Other Signs
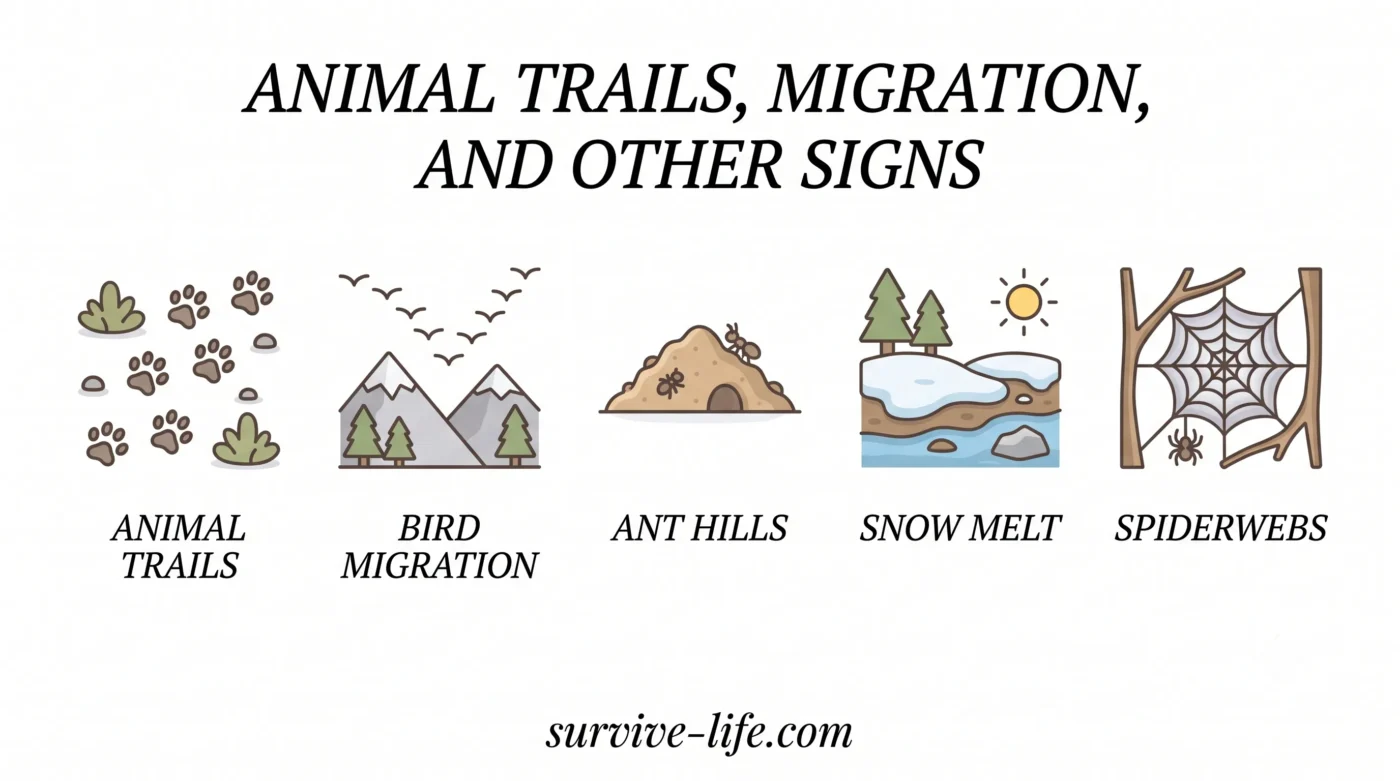
- Animal Trails: Animals, especially larger ones, tend to take the path of least resistance. Their trails often follow contours, avoid dense brush, and lead to water sources or clearings. While they might not always go in your desired direction, following a well-worn animal trail can often lead you to a water source, a more open area, or even another human trail. Just be aware that animal trails can sometimes lead to dead ends or dangerous terrain for humans. Use caution and your best judgment.
- Bird Migration: If you’re lost during migration season, observing the general direction of large flocks of birds can give you a broad directional sense. Birds typically fly north in spring and south in autumn. This is a seasonal clue, of course, but a powerful one if the timing is right.
- Ant Hills: In the Northern Hemisphere, ant hills (especially those built by red ants) often have their steepest, most exposed side facing south, to catch more sun. The gentler, more shaded side would then be north. This isn’t foolproof, as local conditions can vary, but it’s another piece of the puzzle.
- Snow Melt: In spring or on sunny days, snow will melt faster on the side of a hill or object that receives more direct sunlight. In the Northern Hemisphere, this would be the south-facing slopes. So, if you see patches of bare ground appearing on one side of a ridge while the other is still covered in snow, you’ve got a good indicator of south.
- Spiderwebs: Some naturalists suggest that spiders tend to build their webs on the eastern side of trees or structures to catch the morning dew and early sun, making them more visible to prey. This is a less reliable method, but another subtle observation to add to your mental toolkit.
Ready to Read Nature’s Map?
Phew! We’ve covered a lot, haven’t we? From the grand sweep of the sun and stars to the subtle lean of a tree or the flow of a stream, nature is constantly whispering directions to us. We talked about using the sun’s path and the shadow stick, finding the steadfast North Star, reading the growth patterns of plants, understanding wind-shaped trees, letting water guide you downhill, and even picking up clues from animal trails and ant hills.
These aren’t just survival tips; they’re a way to deepen your connection with the natural world. They remind us that before all our fancy tech, humans were incredibly adept at reading the world around them.
So, what’s next? Don’t just read about these methods; go out and practice them! The next time you’re on a hike, try to find north using the sun, or spot Polaris at night. Observe the moss on trees, or the direction a stream flows. The more you practice, the more intuitive these skills will become, and the more confident you’ll feel in any outdoor situation. Being ready for anything means being able to rely on yourself, and these natural navigation skills are a huge part of that. Stay safe out there, and happy exploring!