
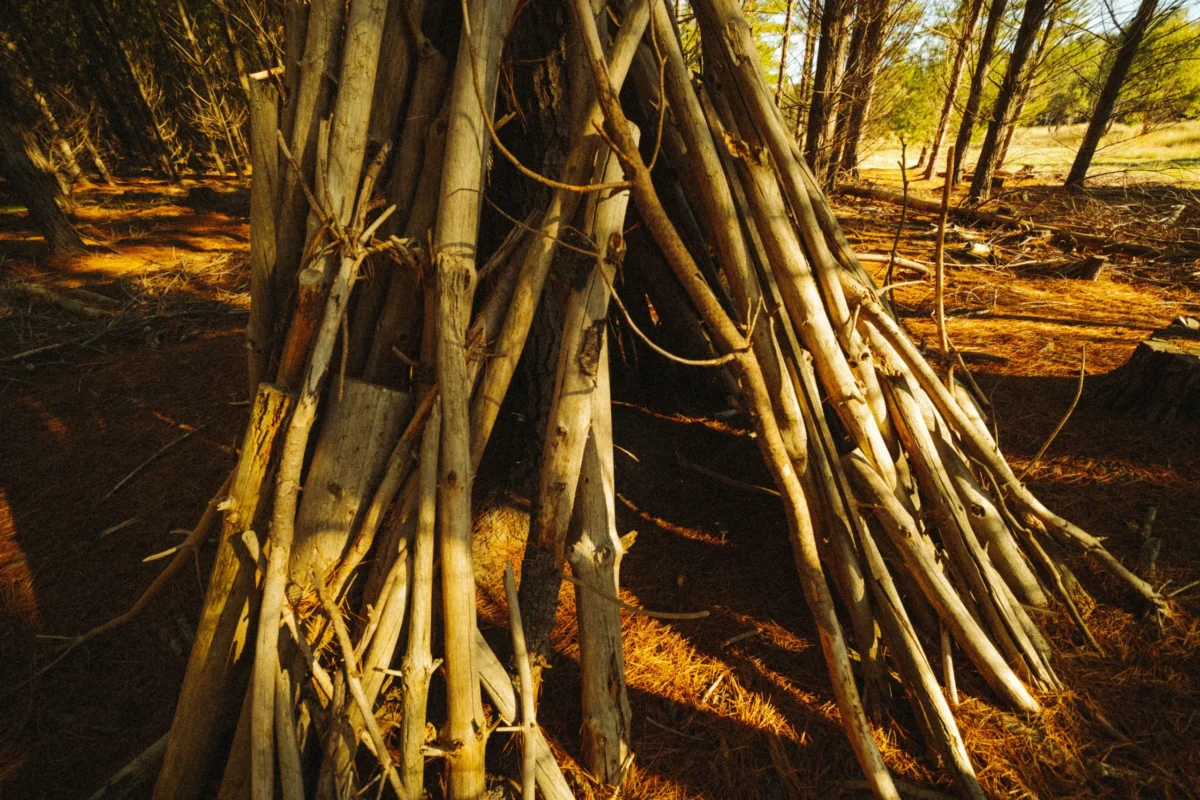
Learn how to build essential survival shelters in the wilderness. This guide covers site selection, basic designs like lean-tos and debris huts, and critical construction tips for staying safe and warm.
Why a Shelter is Your Top Priority
Think about the “Rule of Threes” in survival: you can survive three minutes without air, three hours without shelter in extreme conditions, three days without water, and three weeks without food. That “three hours” without shelter highlights just how quickly exposure can incapacitate you. A well-built shelter protects you from:
- Hypothermia or Hyperthermia: Regulating your body temperature is paramount. A shelter insulates you from cold and provides shade from heat.
- Wind and Rain: These elements accelerate heat loss and can make you miserable, impacting your decision-making.
- Sunburn and Dehydration: Direct sun exposure can lead to severe sunburn and speed up dehydration.
- Insects and Animals: While not impenetrable, a shelter offers a psychological and physical barrier against critters.
- Psychological Comfort: Having a secure place to rest and regroup significantly boosts morale.
Choosing Your Shelter Site
Before you even think about cutting a branch, you need to pick the right spot. A poorly chosen site can negate all your hard work. Look for:
Flat, Dry Ground
Avoid depressions where water might collect if it rains. Stay away from dry riverbeds or washes that could flash flood. A slight rise is often ideal for drainage.
Natural Protection
Utilize what nature offers. A large rock overhang, a dense stand of evergreens, or the base of a sturdy, living tree can provide a ready-made wall or roof section, reducing your workload.
Resources Nearby
Build close to essential resources. You’ll need water, firewood, and building materials (branches, leaves, pine needles, moss). Don’t build so far from these that gathering them exhausts you.
Avoid Hazards
Steer clear of dead trees or “widowmakers” that could fall on your shelter. Avoid animal trails, which could lead to an unwelcome encounter. Check for ant hills, wasp nests, or other insect hazards.
Basic Survival Shelter Designs
While there are many types of shelters, two stand out for their simplicity and effectiveness in most environments:
The Lean-To
This is one of the quickest and easiest shelters to construct, offering protection from wind and rain from one direction. You’ll need a sturdy support, like a fallen log, a large tree trunk, or a ridge pole propped between two trees. Lean branches against this support at an angle, then cover them with a thick layer of debris (leaves, pine needles, moss) to create a waterproof and insulating roof. Angle the roof to shed water away from your sleeping area.
The Debris Hut
For maximum insulation and protection, especially in colder climates, the debris hut is a superior choice. It’s essentially a human-sized nest. Start with a strong ridge pole supported by two sturdy uprights (or a natural fork). Lean smaller branches against the ridge pole to form an A-frame structure. The critical step is to pile a massive amount of insulating material – leaves, grass, moss, pine needles – at least 2-3 feet thick over the entire frame. Leave a small entrance, which you can plug with a bundle of debris once you’re inside.
Building Your Shelter: Step-by-Step (General Principles)
Regardless of the design you choose, follow these general steps for effective construction:
Gather Materials First
Before you start building, collect all the necessary materials. You don’t want to be halfway through construction and realize you need more branches or insulation. Overestimate what you need; it’s better to have too much than too little.
Build a Sturdy Frame
Your shelter’s frame is its backbone. Ensure your ridge pole and support poles are strong enough to bear the weight of your covering materials and any potential wind or snow load. Secure them as best you can with cordage if you have it, or by interlocking branches.
Layer for Insulation and Weatherproofing
Once the frame is up, start layering your covering. For weatherproofing, overlap branches or bark like shingles, starting from the bottom and working your way up to shed water. For insulation, pack debris tightly into every crevice. The thicker the layer, the better the insulation.
Test Your Shelter
Before settling in for the night, get inside your shelter. Check for drafts, leaks, or weak spots. If it’s raining, see if water is getting in. If it’s cold, feel for cold spots. Make adjustments as needed.
Critical Shelter Considerations
Beyond the basic construction, a few details can make a significant difference in your comfort and safety:
Ground Insulation
The ground will suck heat from your body faster than the air. Always build a thick insulating layer between you and the earth. Pile up dry leaves, pine needles, grass, or even small branches to create a mattress at least 6-12 inches thick. This is non-negotiable in cold weather.
Ventilation
Even in cold weather, you need a small amount of ventilation to prevent condensation buildup inside your shelter. A tiny opening near the top or a small, unsealed entrance can suffice. Too much condensation can make your sleeping bag or clothes damp, leading to heat loss.
Camouflage
If you’re trying to avoid detection, blend your shelter into the natural environment. Use local materials, avoid bright colors, and break up the outline of your structure. This is less about survival and more about evasion, but it’s a valuable skill to have.
Practice Makes Perfect
Reading about building a shelter is one thing; actually doing it is another. Take the time to practice building these basic shelters in your backyard or a local wilderness area. You’ll quickly learn what works, what doesn’t, and how long it truly takes. The muscle memory and practical experience you gain will be invaluable if you ever need to build one under pressure.
Your ability to construct a reliable shelter is a cornerstone of wilderness survival. It’s a skill that empowers you, providing a sense of control and security when you’re facing the unpredictable challenges of the wild. Master it, and you’ll significantly increase your chances of making it home safely.