
Hey there, friend! Ever thought about what you’d do if you were out enjoying nature and suddenly, things went sideways? I mean, really sideways. Your phone dies, or you’re deep in the woods where there’s just no signal. It’s a scary thought, right? That feeling of being totally cut off, wondering how on earth you’re going to tell anyone you need help. Well, let’s get real for a second. Knowing how to signal for rescue with some super simple tools – like a mirror, a whistle, fire, or even just some ground marks – isn’t just a cool trick; it could literally save your life.
Think about it. We’ve all heard those incredible stories, haven’t we? Like the hiker who, after getting lost for days, used a tiny mirror to flash a passing plane. Or the person who, after a nasty fall, blew their whistle three times, letting searchers know they were nearby. I even remember reading about a group that lit three signal fires in a triangle, guiding rescuers right to their remote camp. And countless times, people have spelled out ‘SOS’ with rocks or branches, clear as day from a helicopter, bringing them home safe and sound. These aren’t just old tales; they’re powerful, proven ways to call for help when you’re in a bind.
So, what if your fancy modern gear fails you? What if no one knows exactly where you are? How do you make sure someone sees or hears you? The short answer, my friend, is that you use these basic, time-tested methods to make yourself known and guide rescuers right to your spot. It’s about taking control when everything else feels out of control.
Why You Need to Know Rescue Signals
Let’s be honest, getting lost or hurt in the wild can feel like a nightmare. You might feel incredibly alone, maybe even a little helpless. But here’s the thing: knowing how to signal for help gives you back some of that power. It gives you a way to act, to fight for your safety, instead of just waiting and hoping. Your smartphone is awesome, don’t get me wrong, but it’s got its limits. Batteries die, screens crack, and let’s face it, cell towers aren’t exactly everywhere when you’re off the beaten path. When that happens, those simple tools we’re talking about become your absolute best friends.
These rescue signals aren’t just for the super extreme adventurers, either. Oh no, they’re for anyone who spends time outdoors, even if it’s just a short hike on a well-known trail. An unexpected turn, a sudden injury, or even just a quick change in the weather can flip your trip on its head in a heartbeat. Being prepared means you’ve got a plan, and knowing these signals is a huge, huge part of that plan. It means you’re not just sitting there, hoping to be found; you’re actively working to be seen and heard. This knowledge, my friend, can truly turn a scary, hopeless situation into one filled with hope. It can be the difference between a long, cold, terrifying night and a quick, safe rescue. You’re basically giving yourself the absolute best chance to get home safely, and that’s a pretty big deal, wouldn’t you agree?
Signaling with a Mirror
Alright, let’s talk about one of the coolest and most effective ways to get attention from really far away: using a mirror. A bright flash of light from a mirror can be seen for miles and miles, even on a cloudy day, but especially when the sun’s shining bright. And here’s a little secret: you don’t even need a fancy, special signal mirror. Any shiny surface can totally work! Think about it – a piece of aluminum foil, an old CD, or even a shiny knife blade can do the trick. The main goal is to make that light flash in a way that screams, ‘Hey! I need help!’
The international distress signal is super easy to remember: it’s three short flashes, repeated. That pattern is universally recognized and tells anyone who sees it that someone’s in trouble. So, how do you aim this thing? It’s pretty simple, actually. Hold the mirror up and make a ‘V’ shape with your fingers, aiming for whatever you want to signal – maybe a plane flying overhead or a boat in the distance. Look through that ‘V’ and adjust the mirror until the sun’s reflection hits your target. Once you’ve got it, sweep the mirror slowly across the horizon, making sure to flash your signal in the direction you think rescuers might be coming from. Keep flashing until you’re absolutely sure you’ve been seen, or until the sun decides to call it a day. This simple, often overlooked tool can truly be your brightest hope for rescue. It’s amazing what a little bit of reflected sunlight can do, isn’t it?
Signaling with a Whistle
Next up, let’s chat about the humble whistle. This little guy is small, but oh boy, is it mighty when it comes to rescue! Its sharp, loud sound travels so much farther than your voice ever could, especially in places where sound tends to get swallowed up, like a thick, dense forest or those windy, echoing mountains. Just like with the mirror, there’s a universal distress signal for a whistle: three short blasts, repeated. This pattern is recognized all over the world as a clear call for help.
When you blow your whistle, don’t just blast away constantly. That’ll wear you out super fast! Instead, blow your three short blasts, then wait a minute or two, listening really carefully for any reply. Rescuers often use the same three-blast pattern to signal back, or they might use one long blast to let you know they heard you. If you don’t hear anything, just repeat the signal. It’s all about conserving your energy while still making yourself known. You should definitely carry a whistle that’s loud and easy to use, even if your hands are cold or a bit shaky. Attach it to your backpack, or better yet, wear it around your neck so it’s always right there when you need it. A whistle doesn’t need batteries, it’s tough as nails, and it can cut through a heck of a lot of natural sounds, making it an incredibly reliable way to tell people you need help. It’s a small investment for a potentially huge payoff, don’t you think?
Building a Signal Fire
Now, let’s talk about fire – a truly powerful tool for signaling, especially when it’s dark outside or you’re stuck in an area with really thick tree cover where smoke can rise above everything. A signal fire can give you both light and smoke, making it visible from a long, long way off. To build a fire that’s actually going to get attention, you’ve got to pick your spot wisely. Look for an open area, far away from any dry brush that could catch fire, where the smoke can just shoot straight up into the sky and be seen from above. Make sure you clear a wide space around your fire pit – we’re talking a good 10 feet or so – to stop the fire from spreading. Safety first, always!
For a really good signal fire, you’ll need three types of fuel, just like any good campfire: tinder (that’s the super small stuff that catches fire easily), kindling (small sticks that help the fire grow), and then your larger fuel wood to keep it going strong. Once you’ve got a nice, strong flame going, the trick is to create a ton of smoke. How do you do that? Easy! Add green leaves, damp moss, or even pieces of rubber or plastic if you absolutely have no other option and it’s safe to do so. These items will produce thick, dark smoke that really stands out against the sky. And here’s another international signal to remember: three fires arranged in a triangle, about 100 feet apart. That’s a universally recognized distress signal. Just remember, always have water or dirt ready to put out your fire completely once you’re rescued or if things start to feel unsafe. We want to get you rescued, not start a forest fire, right?
Making Ground Marks for Rescue
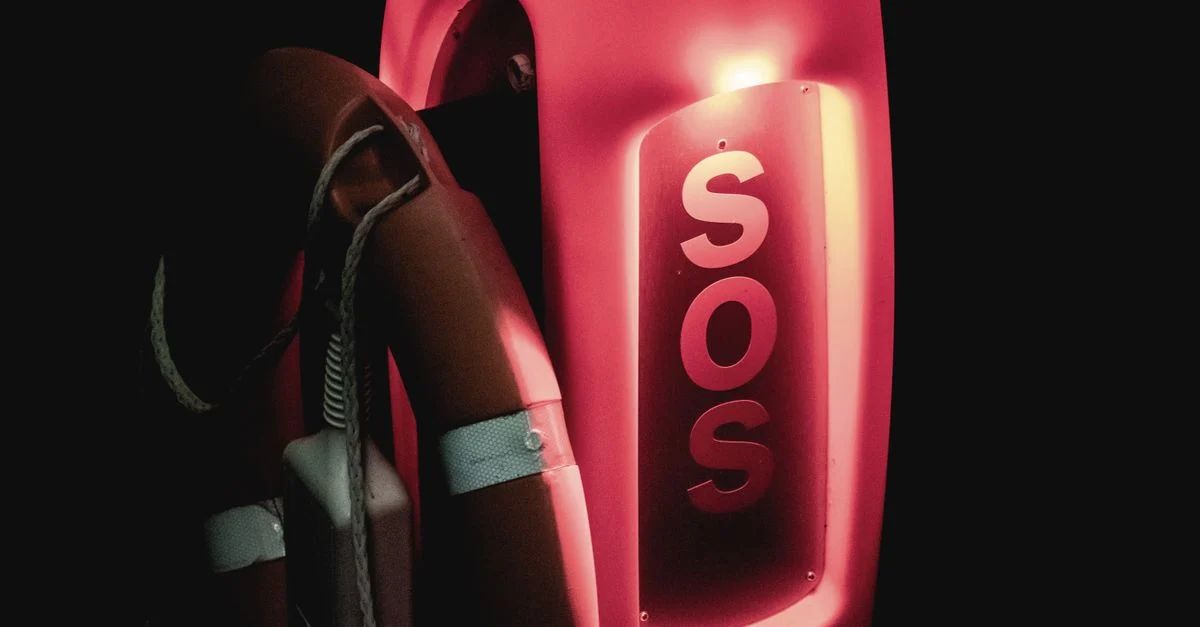
Okay, last but certainly not least, let’s talk about ground marks. When you’re lost and patiently (or not so patiently!) waiting for help from above, these marks are your silent, giant message to rescuers in planes or helicopters. These marks need to be super big and super clear so they can be easily spotted from high up. The most common and widely recognized ground signal is ‘SOS,’ which, as you probably know, stands for ‘Save Our Souls.’
You can make ‘SOS’ using pretty much any natural materials you find around you. Think rocks, logs, branches, or even just piles of dirt or snow. The key here is size, my friend. Make those letters as big as you possibly can – we’re talking at least 10 to 15 feet tall for each letter. And make sure there’s a really good contrast with the ground. For example, if you’re in a snowy area, use dark rocks or branches to make your letters pop. If you’re in a dark, dense forest, use light-colored logs or create clearings in the undergrowth.
Beyond ‘SOS,’ there are other important ground signals too. An ‘X’ usually means ‘need medical help,’ a ‘V’ means ‘require assistance,’ and an arrow can point in the direction you’re traveling or where you’ve left a message for rescuers. Always place your ground marks in an open area – a clearing, a wide-open beach, or a big riverbed are perfect spots. You want them to be totally visible, not hidden by trees or hills. Keep the area right around your marks clear so they really stand out. These simple, giant symbols can often be the very first thing a rescuer sees, guiding them directly to you. It’s like leaving a giant breadcrumb trail, but way more effective!
Your Lifeline: Getting Found When It Matters Most
So, there you have it. Knowing how to signal for rescue with a mirror, a whistle, fire, and ground marks is so much more than just a survival skill; it’s a powerful way to take control when things go wrong. These methods are simple, they use basic tools you might already have or can easily find, and they’ve saved countless lives over the years. You now understand how a bright flash of light, a sharp, piercing sound, a plume of thick smoke, or a clear, giant mark on the ground can tell the world, ‘Hey, I need help!’
Please, don’t wait until you’re actually in trouble to start thinking about these things. Make it a habit to carry a whistle, keep a small signal mirror in your pack, and take some time to understand how to build a signal fire safely. Maybe even practice making some ground marks in your backyard or a local park so you’re ready if the moment ever comes. Being prepared means you’re ready for anything the wilderness throws at you, and it gives you the absolute best chance to get home safe and sound. Make these skills a core part of your outdoor knowledge; trust me, they are your lifeline. Stay safe out there, my friend!