
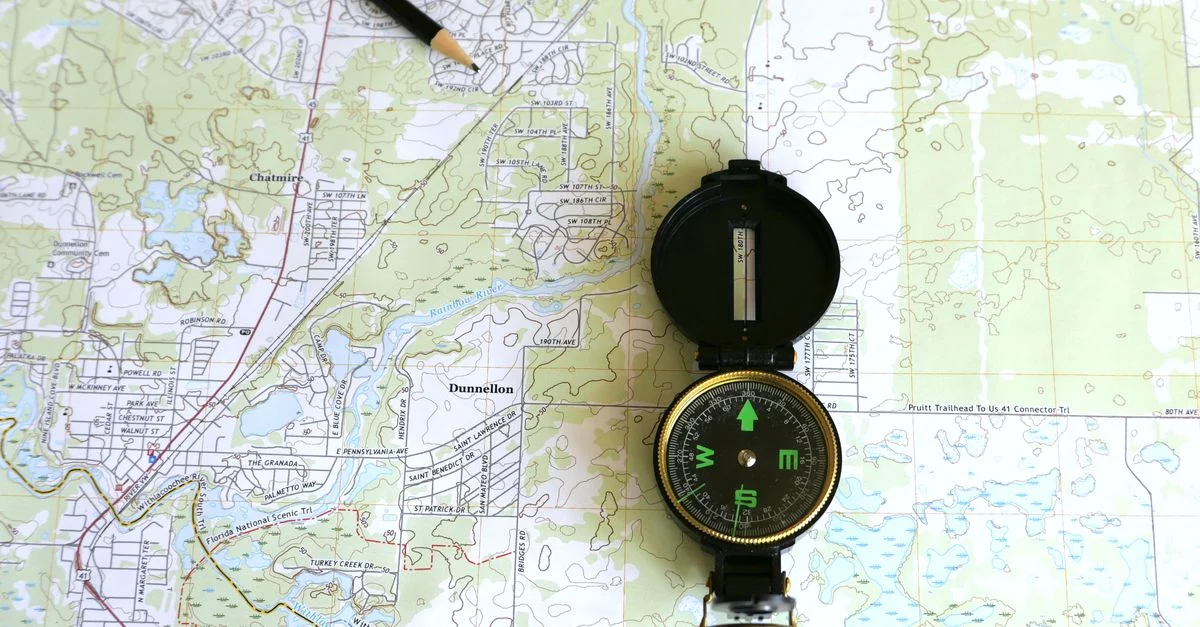
Hey there, fellow adventurer! Ever looked at a map and wished you could truly see the land it represents? Not just roads and towns, but the actual ups and downs, the hills, the valleys, and how steep things really are? That’s where topographic maps come in, and trust me, they’re a game-changer for anyone who loves the outdoors. Imagine you’re planning a hike up a mountain. Wouldn’t you want to know if that path goes up sharply, making you gasp for air, or if it’s a gentle, rolling climb? Or maybe you’re dreaming of a peaceful camping trip and need a nice, flat spot near water. A topographic map tells you all these things. But how do you even begin to read one? What do those squiggly lines mean? Can you really tell how high a hill is just by looking at a bunch of lines? Absolutely, you can! This guide is your friendly chat over coffee, showing you the simple steps to understand these incredible maps. We’ll demystify those lines and symbols, making your outdoor trips not just safer, but a whole lot more fun and empowering. Let’s dive in and unlock the secrets of the land!
What is a Topographic Map?
So, what exactly is a topographic map? Well, think of it as a super-powered map. While your everyday road map is great for getting from point A to point B, a topographic map takes things to a whole new level. It doesn’t just show you where things are; it shows you the actual shape of the land – hills, mountains, valleys, ridges, and even how high everything is. It’s like having X-ray vision for the earth’s surface, all laid out on a flat piece of paper.
The magic behind this 3D view on a 2D surface comes from special lines called contour lines. These aren’t just random squiggles; they’re the key to visualizing the terrain. For anyone who spends time outdoors – hikers, campers, hunters – understanding these maps is essential.
They’re truly different from basic road maps. They don’t just point out a trail; they show you if that trail is going to be a calf-burning ascent or a leisurely stroll. You can spot flat areas perfect for pitching a tent, or identify steep cliffs to avoid. This information is crucial for planning your adventures, staying safe, and truly connecting with the natural world around you. It helps you make smart choices and ensures you’re prepared.
Key Parts of a Topographic Map
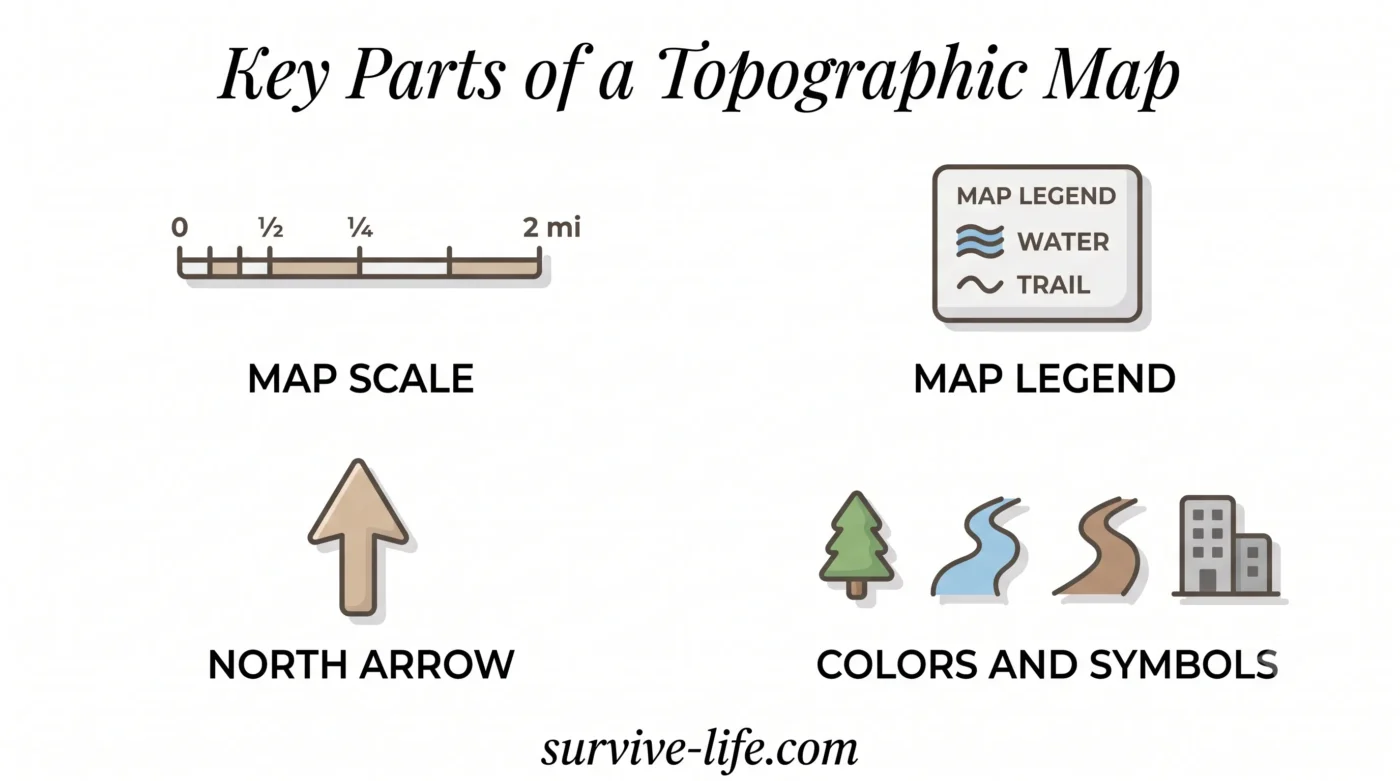
Alright, before we get into the nitty-gritty of those fascinating contour lines, let’s get familiar with the basic building blocks of any good topographic map. Think of these as the essential tools in your map-reading toolkit.
Map Scale
This little detail is super important because it tells you how much the map has shrunk the real world. You’ll often see it written as a ratio, like “1:24,000.” This means one unit on the map (say, one inch) represents 24,000 of those same units in real life. Knowing the scale lets you measure distances on the map and translate them into real-world miles or kilometers. This is huge for planning! You can figure out how far you’ll need to walk and how long your journey might take. It helps you set realistic expectations for your adventure.
Map Legend
Consider the map legend your personal dictionary for the map. Seriously, it’s that important! This is where you’ll find out what all those different symbols, lines, and colors actually mean. Is that blue line a tiny stream or a raging river? Is that green patch a dense forest? The legend holds the answers. Always check the legend first when you pick up a new map. It’s the key that unlocks all the map’s secrets. Without it, you’d just be staring at a bunch of pretty pictures, clueless about what they represent.
North Arrow
This one’s pretty straightforward but incredibly vital. The north arrow always points to true north. Why does this matter so much? Because it helps you orient your map. When you hold your map so the north arrow points north (which you can find with a compass!), everything on your map will line up perfectly with the real world around you. This is your first step to not getting lost! Knowing which way is north helps you keep your bearings and follow your planned route correctly.
Colors and Symbols
Topographic maps use a whole palette of colors and a bunch of different symbols to convey information quickly. Green is usually for forested areas, blue is for water (lakes, rivers, streams), and white or light brown often represents open land. Black lines are typically for human-made features like roads, trails, and buildings. Understanding these common color codes helps you get a quick overview of the terrain and spot important features at a glance. These visual cues give you a fast, intuitive sense of the landscape.
Reading Contour Lines: The Heart of the Map
Okay, now for the main event! If you want to truly understand a topographic map, you’ve got to get cozy with contour lines. These are the absolute heart and soul of the map, the things that bring the landscape to life.
What are Contour Lines?
Imagine you’re walking around a hill. If you could walk perfectly level, never going up or down, you’d be following a contour line. That’s exactly what they are: lines that connect points of the exact same height or elevation above sea level. They never, ever cross each other, because a single point can’t be two different elevations at once, right? Every fifth contour line is usually drawn a bit thicker and has a number printed on it. This number, called the index contour, tells you the exact elevation of that line. These lines are your magic key to seeing the three-dimensional landscape right there on your flat map.
Showing Elevation and Steepness
This is where contour lines really shine! The way they’re spaced tells you a heck of a lot about the terrain’s slope:
- Close together? Get ready for a climb! When contour lines are packed tightly, it means the land is steep. The elevation changes dramatically over a short distance.
- Far apart? Relax, it’s a gentle slope or even flat ground. When the lines are spread out, the elevation changes slowly, making for an easier walk.
This simple rule is incredibly powerful. It helps you choose an easy path or mentally prepare for a challenging ascent. You can easily spot hills (where the lines form concentric circles) and valleys (where the lines often form V-shapes). The spacing of these lines gives you a direct, visual cue about how much effort you’ll need.
Understanding Valleys and Ridges
Contour lines have some tell-tale patterns that help you identify major landforms:
- Valleys and Streams: When contour lines cross a stream or river, they make distinctive “V” shapes. The “V” always points upstream, towards higher ground. This is super helpful because it tells you which way the water is flowing.
- Ridges and Spurs: When lines form U-shapes or rounded V’s, they often indicate a ridge or a spur coming off a hill. In this case, the open end of the U or V points downhill. Learning to spot these patterns is like learning a secret language of the land. It helps you understand the flow of water, identify natural pathways, and visualize major features.
Using a Topographic Map for Real-Life Trips
Now that you’ve got the basics down, let’s talk about how to put this knowledge to work on your actual outdoor adventures. This is where your map meets the trail!
Planning Your Route
Before you even step out the door, your topographic map is your best friend for route planning.
- Ease of Travel: Looking for an easy walk? Scan for areas where contour lines are far apart. Want a challenge? Head for those tightly packed lines!
- Water Sources: Need to refill? Locate those blue lines and V-shaped contours indicating streams and rivers.
- Hazards: Identify any steep drops, cliffs, or dangerous areas to avoid.
- Time Estimation: By measuring distances and considering elevation changes, you can get a good estimate of how long your trip will take. Good route planning saves time and energy, and most importantly, keeps you safe.
Staying Found on the Trail
Once you’re out there, your map is your constant companion for navigation.
- Orient Your Map: Always start by orienting your map with a compass so it matches the real world.
- Identify Landmarks: Look for distinct features on the map that you can clearly see in real life, like a uniquely shaped hill or a river bend. By matching these, you can pinpoint your exact location.
- Regular Checks: Don’t just check your map when you think you’re lost! Make it a habit to check it regularly, especially at junctions or when the terrain changes. This confirms you’re on path and prevents disorientation.
Finding Water and Shelter
Topographic maps are invaluable for finding essential resources in the wild.
- Water: Those blue lines and V-shaped contours clearly show streams, rivers, and lakes. Knowing where these are is vital for any extended outdoor activity.
- Shelter: By reading contour lines, you can identify flat areas for camping. You can also find sheltered spots – perhaps in a valley, or on the lee side of a hill – which can make a huge difference to your comfort and safety, especially in bad weather. Knowing where these resources are is a fundamental survival skill.
Conclusion
So there you have it! You’ve now got the basic tools and understanding to start reading a topographic map like a pro. We’ve covered contour lines, map scale, and symbols, and how to use this knowledge for real-life trip planning and navigation. Remember, practice makes perfect. The best way to truly master these skills is to take your map outside, compare it to the real world, and start making those connections. Soon enough, you’ll be navigating with confidence, unlocking new adventures, and making your outdoor trips much richer and more rewarding. Happy exploring, my friend!