
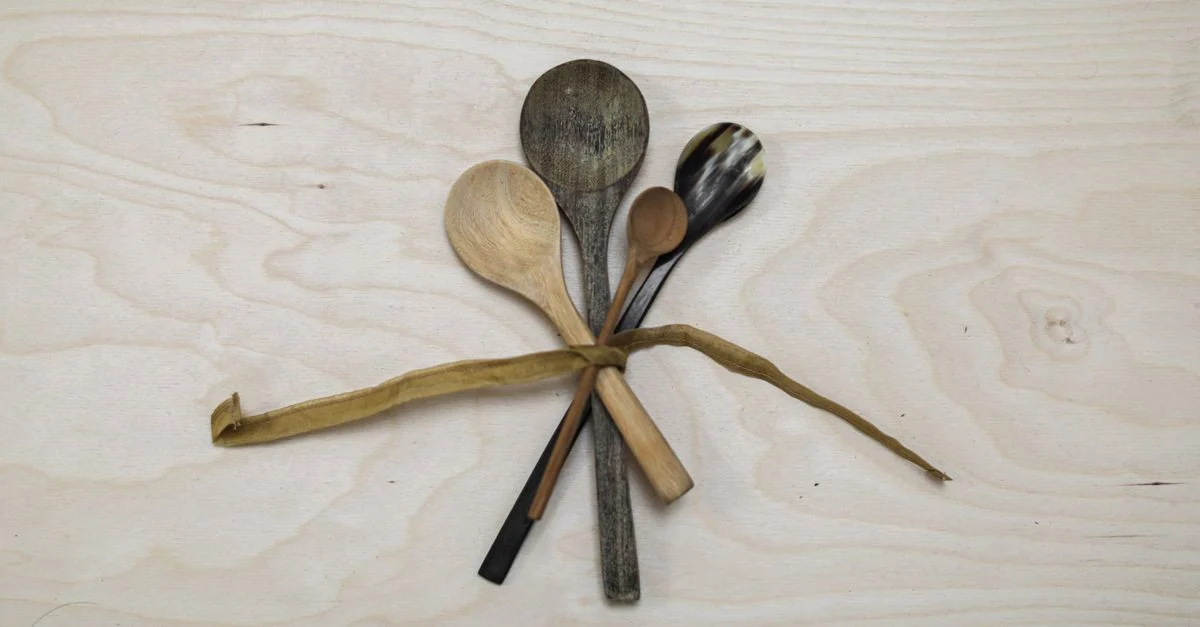
You know, there’s just something incredibly satisfying about making a wooden spoon by hand. It’s about taking a simple piece of wood and, with your own two hands, shaping it into something truly useful. Maybe you’ve seen folks carving spoons by a crackling campfire, or perhaps you remember your grandma using a beloved wooden spoon that someone in her family made ages ago. It’s a skill that really connects you to those old, traditional ways of making things. You get to use your hands, just a few simple tools, and a beautiful piece of wood. And honestly? It feels really, really good to make something real, something tangible.
Ever wanted to create something with your own hands? Do you love the idea of working with natural materials? Does the thought of making a useful item from scratch sound like a cool project? A heck of a lot of people find a real sense of peace and pride in carving wood. It’s not just for the experts, you know; anyone can jump in and start.
So, what exactly is carving a wooden spoon, and what tools do you need to get started? Well, it simply means using some basic hand tools to cut and shape wood into a spoon. You’ll need a few sharp knives, a piece of wood, and a safe spot to work. That’s pretty much it! It’s a craft that’s super easy to begin, and at the end, you’ll have a beautiful, handmade item that you can actually use. How cool is that?
What You Need: Basic Tools for Spoon Carving
To carve a wooden spoon, you really only need a few basic tools. These trusty helpers will let you cut, shape, and smooth your wood; no fancy machines needed! Simple hand tools are absolutely the best for this kind of work. Your main tools are going to be a carving knife, a hook knife, and a small axe or a saw. With these, you can tackle every step, from getting the rough shape to adding those lovely fine details.
Now, let’s talk about something super important: sharpness. Having sharp tools isn’t just about making the job easier; it’s about making it safer. Sharp tools glide through wood easily and predictably. Dull tools, on the other hand, make you push harder, and that’s when slips and accidental cuts can happen. So, keep ’em sharp, okay?
Your carving knife is going to be your main workhorse. It usually has a straight blade and a comfy handle. You’ll use it for most of your shaping and cutting. Then there’s the hook knife, which has a cool, curved blade. This curve is what lets you hollow out the bowl of your spoon. It’s perfect for getting into those tight, rounded spaces. A small axe or a saw is what you’ll use to get the rough shape of your spoon from a bigger piece of wood. It helps you quickly remove larger chunks of wood.
You’ll also want a way to keep those tools razor-sharp, like a sharpening stone or a leather strop. Keeping your tools sharp makes carving a heck of a lot easier and, as we said, much safer. Oh, and you absolutely, positively need a carving glove for the hand that holds the wood. This glove is usually made from cut-resistant material, and it adds a really important layer of safety while you’re working. Seriously, don’t skip this one. Always make sure your tools are clean and stored safely when you’re not using them. That keeps them in tip-top shape and ready for your next carving adventure. You might also want to grab a pencil to draw your spoon shape on the wood and maybe a clamp or a vice to hold the wood steady. These little extras can make the work feel a lot easier and give you more control. Remember, good tools are an investment in your craft. They’ll stick with you for a long, long time if you treat them right.
Getting Ready: Choosing Wood and Safety First
Alright, before you even think about making your first cut, you’ve got two super important things to sort out: picking the right wood and setting up a safe spot to work. Trust me, choosing the right wood makes a huge difference in how easy and fun your carving project will be.
You’ve got softwoods and hardwoods. Softwoods are generally easier to cut, but they might not last as long, especially for a spoon that’s going to see a lot of action. Hardwoods are tougher and more durable, but they’ll definitely make you work a bit harder. For us beginners, a fantastic choice is a fresh piece of green wood. What’s green wood, you ask? It’s basically wood that’s just been cut and still has a lot of water in it. This makes it much, much softer and easier to carve than dry wood. You can often find great pieces like birch, cherry, maple, or apple wood from fallen branches or small logs. Avoid wood with cracks or too many knots; they’re tough to carve and can break. Look for a piece that’s roughly the size and shape of the spoon you’re dreaming of. The closer it is to your final shape, the less wood you’ll have to remove later, which is always a win!
Now, let’s get real about safety. When you’re carving, you’re using sharp tools, so you absolutely have to be careful. Always, always wear a carving glove on the hand that’s holding the wood. This glove is your best friend; it’s there to protect your hand from any accidental slips or cuts. Make sure your workspace is clear. You don’t want anything in the way that could make you trip, lose your balance, or just distract you. Here’s a golden rule: always carve away from your body. Never, ever cut towards yourself. This is a basic, non-negotiable rule that helps prevent serious injuries.
When you’re using an axe or saw to rough out the shape, make sure that wood is held firmly. You can use a clamp or a vice for this, which is super helpful. If you’re sitting down to carve, be mindful of where your legs are; keep them well out of the path of your cutting tools. It’s a good idea to take breaks often, too. This helps rest your hands and keeps your focus sharp. If you start to feel tired or rushed, it’s always better to stop and come back to it later. And remember what we talked about earlier? Keep those tools sharp! A sharp tool cuts cleanly and needs less force, which means less chance of slipping. Once you’re done for the day, clean your tools and put them away safely. Never leave sharp tools lying around where someone could get hurt. Thinking about safety first makes carving a truly fun and rewarding hobby, not a trip to the emergency room.
Step-by-Step: Carving Your Wooden Spoon
Okay, friend, it’s time for the fun part: actually carving your wooden spoon! This whole process takes a bit of patience and some careful cuts, but you’ll love watching a simple piece of wood slowly transform into a useful spoon.
Your very first step is to draw your spoon shape right onto the wood. Grab a pencil and sketch out the outline of your spoon. Think about the bowl, the handle, and the overall shape. How big do you want it to be? How will it feel in your hand? Don’t be afraid to draw a few versions until you get one you really like. Once you’ve got a good drawing, use your small axe or saw to remove the big pieces of wood that are outside your drawn lines. This is what we call “roughing out” the shape. Be super careful here and make sure that wood is held steady. At this stage, you’re just trying to get the general outline of the spoon, not the tiny details. And here’s a tip: don’t try to cut too much wood at once. Small, controlled cuts are always, always better. It gives you more control and prevents mistakes.
Next up, you’ll grab your carving knife to start refining that shape. Make the handle comfortable to hold. You can make it round, flat, or whatever shape feels best in your grip. Then, start working on the outside of the spoon bowl. Slowly remove wood until you get the curve you want. A really important rule here is to always cut with the grain of the wood whenever you can. Cutting against the grain can cause the wood to split or tear, which is no fun. Take your sweet time and make many small cuts instead of just a few big ones. This gives you way more control and helps you get a much smoother finish. Once the outside shape is looking good, it’s time to hollow out the bowl. This is where your trusty hook knife really shines! Use that hook knife to scoop out the wood from the inside of the bowl. Start from the center and gently work your way out. Be careful not to cut too deep or make one spot too thin. Turn the spoon often so you can see your progress from all sides. The goal is to make the bowl smooth and even.
As you carve, keep checking the thickness of your spoon. You want it to be strong enough to use, but not so heavy that it feels clunky. Hold it up to the light; that’s a great trick to see if there are any thin spots. Once you’re happy with the overall shape and the bowl, you can start making the surface smooth. Use your carving knife to gently shave off any rough spots or tool marks. You can definitely use sandpaper later, but good knife work at this stage will make sanding a heck of a lot easier. Pay close attention to the edges and curves. Make sure they feel nice and soft to the touch. This stage is all about making the spoon look and feel truly finished. Remember, every single spoon you carve will be unique. Don’t worry if it’s not “perfect” in a factory-made way. The real beauty of a handmade spoon is its individual character and the story it tells. Just enjoy the process of seeing the spoon come to life right there under your hands. It’s pretty magical!
Finishing Touches: Making Your Spoon Smooth and Safe
So, you’ve carved your spoon to that lovely shape you like – awesome job! Now, the next big step is to make it super smooth and totally safe for use. This part is all about refining the surface and giving that beautiful wood some protection. Even with the most careful knife work, you’ll probably find some small bumps, tiny knife marks, or rough areas. And that, my friend, is where sanding comes in!
You’ll want to grab different grades of sandpaper, starting with a coarser grit and then moving to finer and finer ones. Begin with 100 or 120 grit sandpaper. This is your workhorse for removing those bigger marks and evening out the surface. Work slowly and evenly over the entire spoon. Pay extra special attention to the bowl and the edges, because those are the parts that will be touching food and, of course, your mouth!
Once you’ve gotten rid of the major imperfections with that coarser sandpaper, it’s time to move to a finer grit, like 180 or 220. This step is where the magic really happens, making the surface smoother and smoother. Keep sanding until the spoon feels wonderfully nice and soft to the touch. You can even go to super fine grits like 320 or 400 for an extra silky finish – it’s totally up to you! After all that sanding, you might notice some tiny wood fibers standing up. That’s totally normal. You can “raise the grain” by wiping the spoon with a damp cloth, letting it dry completely, and then doing one final, light sanding with your finest grit sandpaper. This little trick makes sure your spoon stays smooth even after it gets wet. The whole goal here is to make the spoon feel amazing in your hand and smooth in your mouth.
The final, final step is to put a finish on your spoon. This is super important because it protects the wood, helps it last longer, and makes it safe for food. You absolutely, positively must use a food-safe finish. Common choices that work wonderfully include mineral oil, walnut oil, or beeswax. A big heads-up here: please don’t use regular cooking oils like olive oil or vegetable oil. They can go rancid over time and make your beautiful spoon smell pretty awful! To apply the finish, just rub a generous amount of your chosen oil or wax all over the spoon with a clean cloth. Let that oil really soak into the wood for a few hours, or even overnight if you can. The wood will drink up that oil, which helps keep it from drying out and cracking. After it’s had a good soak, wipe off any extra oil with a clean, dry cloth. You can even repeat this process a few times to build up a really good, protective layer. And just like that, your spoon is now ready to use and enjoy! This finishing step not only protects the wood but also brings out the natural beauty of the wood grain, making your handmade spoon truly, truly special.
Taking Care of Your Wooden Spoon
Alright, you’ve put all that love and effort into carving and finishing your wooden spoon, and now you want it to last a good long time, right? Absolutely! Proper care is super important to keep your spoon in tip-top condition and looking beautiful. Wooden spoons are natural items, and they need just a little bit of attention to stay healthy and happy. The main things to remember are how to clean them, how to dry them, and how to keep them nicely oiled. If you take good care of your spoon, it can be a trusty tool in your kitchen for many, many years. Plus, it’ll develop a gorgeous patina – that’s a soft, rich shine that comes from age and use – making it even more unique and special.
When it’s time to clean your wooden spoon, always, always wash it by hand. Seriously, your dishwasher is a no-go zone for these beauties. The high heat and strong detergents in a dishwasher can really dry out the wood, cause it to crack, or make it feel rough. Instead, just wash your spoon with warm water and a mild dish soap right after you use it. Grab a soft sponge or cloth to clean all the surfaces. If there’s some food stuck on it, you can gently scrub it off. And here’s another important one: don’t let the spoon soak in water for a long time. Soaking can make the wood swell up and then, when it dries, it can crack. After washing, give it a good rinse to make sure all the soap is gone.
After washing, it’s super, super important to dry your spoon properly. Don’t just leave it wet! Wipe it dry with a clean towel right away. Then, let it air dry completely in a spot where air can get to all sides. Don’t put it in direct sunlight or near a heat source like a stove, because that can dry the wood too quickly and, you guessed it, cause cracks. Once it’s fully dry, you should oil your spoon regularly. How often? Well, that depends on how much you use it and how dry your home is. For spoons that get a lot of action, oiling once a month is a really good idea. Just use a food-safe oil like mineral oil or walnut oil. Simply rub a small amount of oil onto the spoon with a cloth, let it soak in for a bit, and then wipe off any extra. This keeps the wood moisturized and prevents it from drying out and cracking. It also helps keep that lovely smooth finish. By following these simple care steps, your handmade wooden spoon will remain a cherished item in your kitchen for years to come.
Conclusion
So, there you have it! Making your own wooden spoon is truly a rewarding journey, isn’t it? You start with a simple piece of wood and, with just a few basic tools and some careful, patient work, you create something not only useful but genuinely beautiful. We’ve walked through the tools you’ll need, how to prepare safely, and all the steps to carve, smooth, and finish your very own spoon. And by taking good care of your spoon, it’ll serve you well for a long, long time. This craft isn’t just about making an object; it really connects you to old traditions and gives you a unique item made entirely by your own hands.
So, what are you waiting for? Pick up a piece of wood, get your tools ready, and just start carving. You’ll find so much joy in the process and a real sense of pride in that finished spoon. Who knows, maybe this is just the beginning! What will you carve next?