
Safety First: Essential Campfire Precautions
Before you even think about lighting a match, safety must be your absolute priority. A responsible fire builder understands the risks and takes every measure to prevent accidents and wildfires.
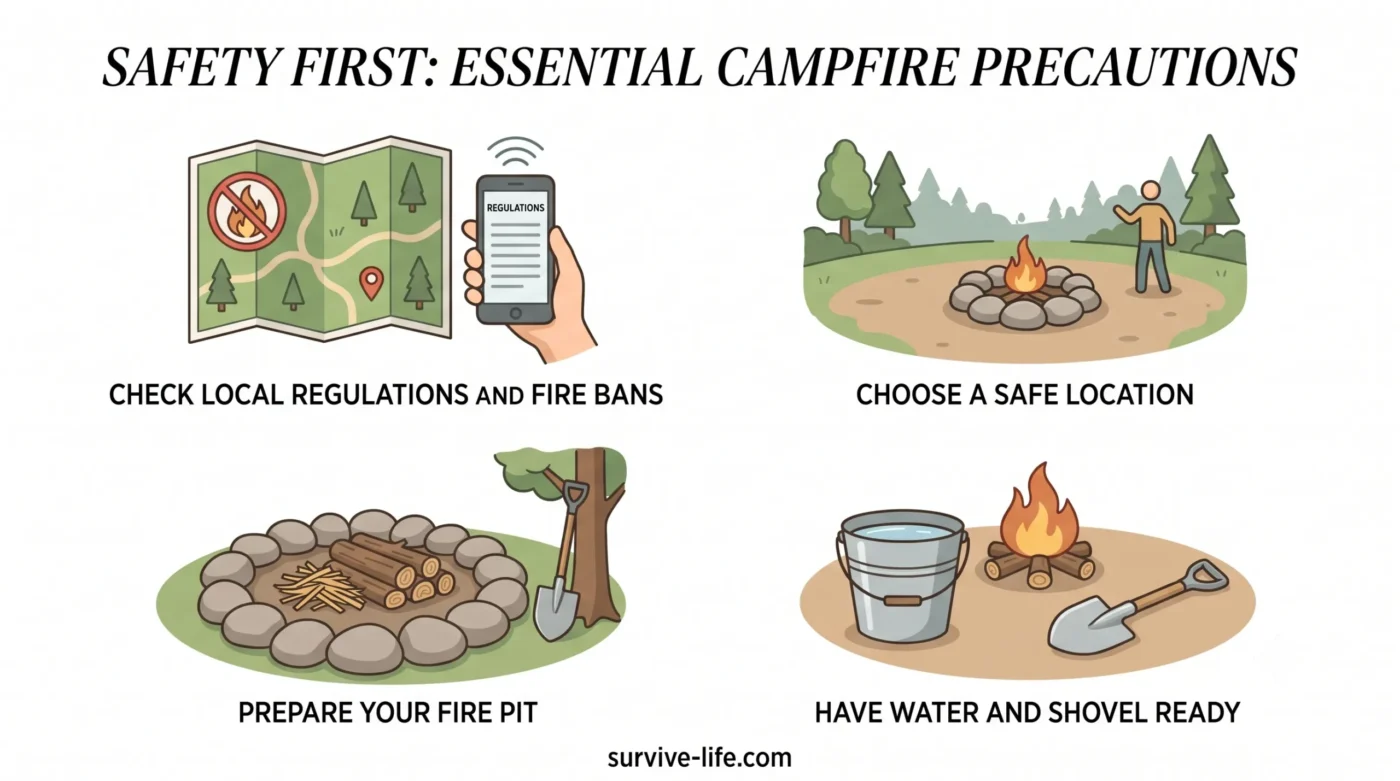
Check Local Regulations and Fire Bans
Always consult local park rangers, campground staff, or online resources for current fire restrictions and bans. Understand what types of fires are permitted; for example, some areas only allow fires in designated rings. Ignoring these rules can lead to hefty fines or, worse, devastating wildfires.
Choose a Safe Location
Select a spot well away from overhanging branches, dry grass, tents, and any other flammable materials. You need adequate overhead clearance and a clear perimeter around your fire. Think of it as a personal safety zone for your fire.
Prepare Your Fire Pit
Use an existing fire ring if one is available. These are designed for safety. If you’re in a primitive camping area where no ring exists, clear a 10-foot diameter area down to bare mineral soil. Remove all leaves, twigs, and duff. Then, build a rock ring around your cleared area to help contain embers and prevent them from spreading.
Have Water and Shovel Ready
Always have a bucket of water and a shovel nearby. This isn’t optional; it’s critical. You’ll need them to douse errant sparks or extinguish the fire quickly if an emergency arises. Don’t light your fire until these are within arm’s reach.
Gathering Your Fuel: The Three Types of Firewood
Building a successful fire relies on having the right materials in the right proportions. You’ll need three distinct categories of fuel, often referred to as the ‘fire triangle’ of materials.
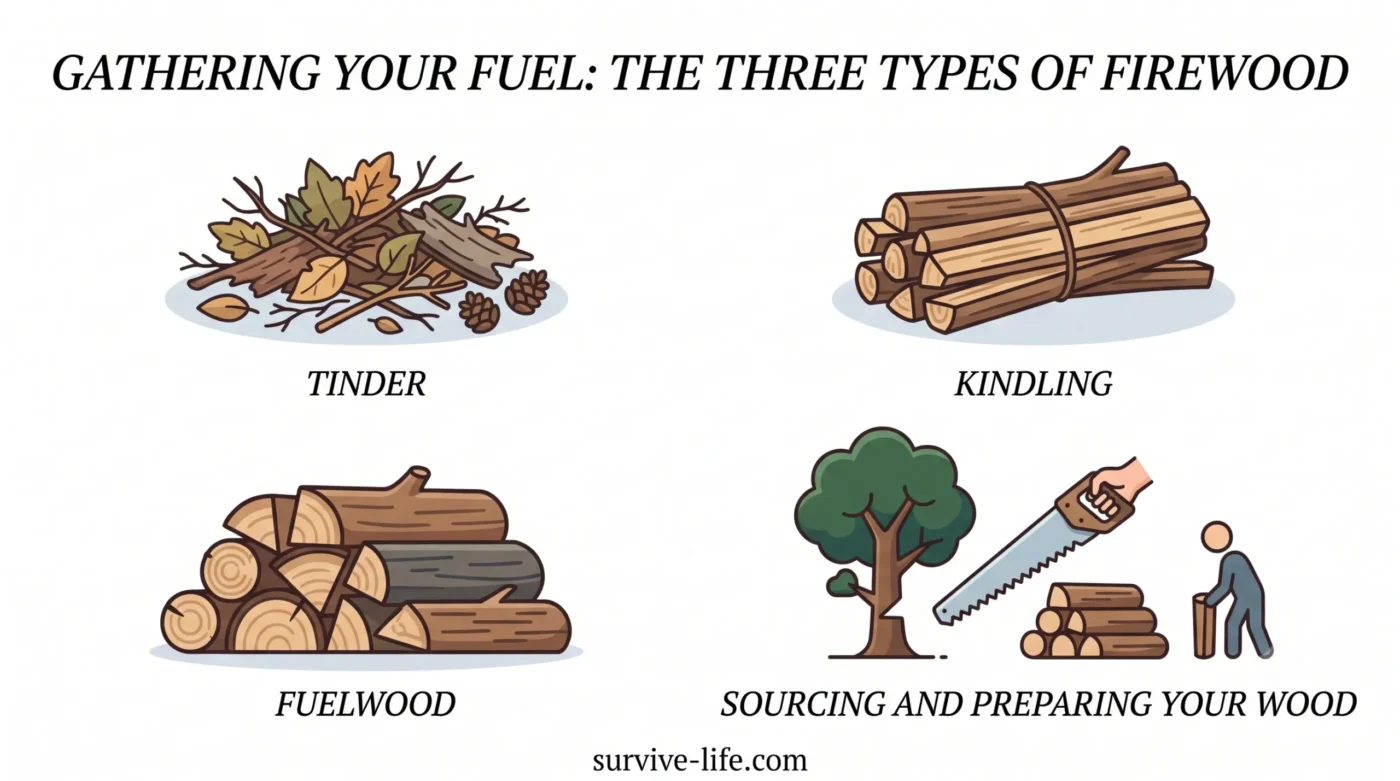
Tinder
Tinder is the smallest, most easily ignitable material. Think of things like dry grass, shredded birch bark, cotton balls, or even dryer lint. Its purpose is to catch the initial spark or flame and hold it long enough to ignite your kindling. Without good tinder, starting a fire becomes a frustrating chore.
Kindling
Kindling consists of small sticks, roughly pencil-sized or smaller. These pieces catch fire from the tinder and burn long enough to ignite your larger fuelwood. You’ll need a good supply of kindling, gradually increasing in size, to bridge the gap between your tiny tinder and your main logs.
Fuelwood
Fuelwood refers to the larger logs and branches that provide sustained heat and a long burn time. This is your main heat source for warmth and cooking. You’ll want a variety of sizes, from wrist-thick branches to forearm-thick logs, to keep your fire going strong.
Sourcing and Preparing Your Wood
Always use dry wood. Wet or ‘green’ wood produces excessive smoke, little heat, and can be incredibly difficult to light. Listen for a sharp snap when you break a dry stick. Gather wood that is dead and down; never cut live trees. Breaking or cutting fuelwood into manageable lengths for your fire pit ensures it burns efficiently and safely within your designated area.
The Step-by-Step Guide to Building Your Fire
With safety measures in place and your fuel gathered, it’s time to construct your campfire. This method ensures a steady, growing flame.
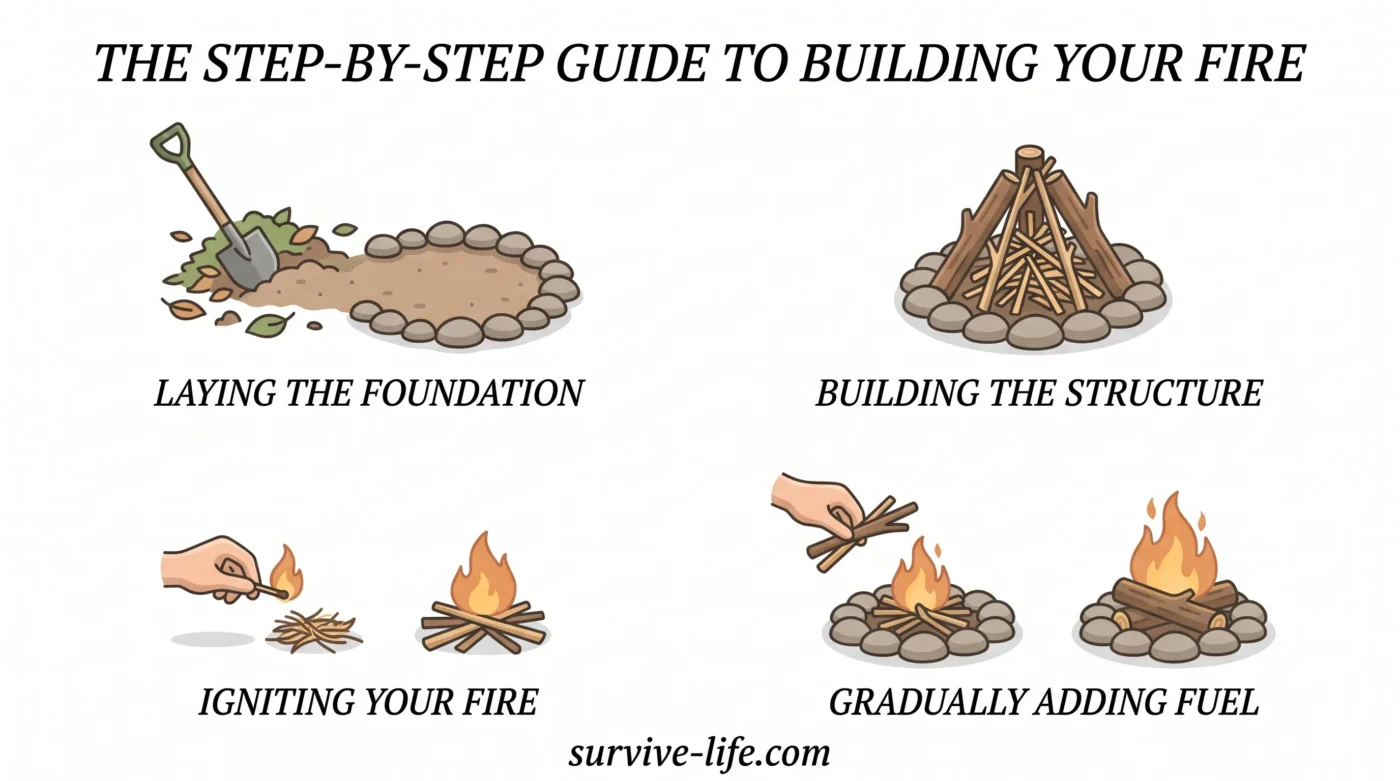
Laying the Foundation
Place a small, compact pile of tinder in the very center of your prepared fire pit. This is where your fire will begin, so make sure it’s accessible and well-protected from wind.
Building the Structure
Around your tinder, arrange a small teepee or crisscross structure of kindling. Leave plenty of gaps for airflow; oxygen is crucial for combustion. As the structure grows, gradually add slightly larger pieces of kindling. You’re building a miniature version of your final fire, designed to quickly catch and spread the flame.
Igniting Your Fire
Carefully light the tinder at its base. As the flame begins to climb upwards, gently blow on the base of the flame. This provides a steady supply of oxygen, encouraging the fire to grow and spread from the tinder to the kindling. Be patient and consistent with your breath.
Gradually Adding Fuel
Once the kindling is burning strongly and consistently, slowly add small pieces of fuelwood. Maintain the teepee or log cabin structure you’ve started, ensuring you always leave space for air to circulate. Avoid smothering the flame by adding too much wood too quickly; a fire needs to breathe.
Optimizing Your Campfire: Warmth vs. Cooking
Different fire structures serve different purposes. Understanding these will help you achieve your desired outcome, whether it’s maximum heat or a stable cooking surface.
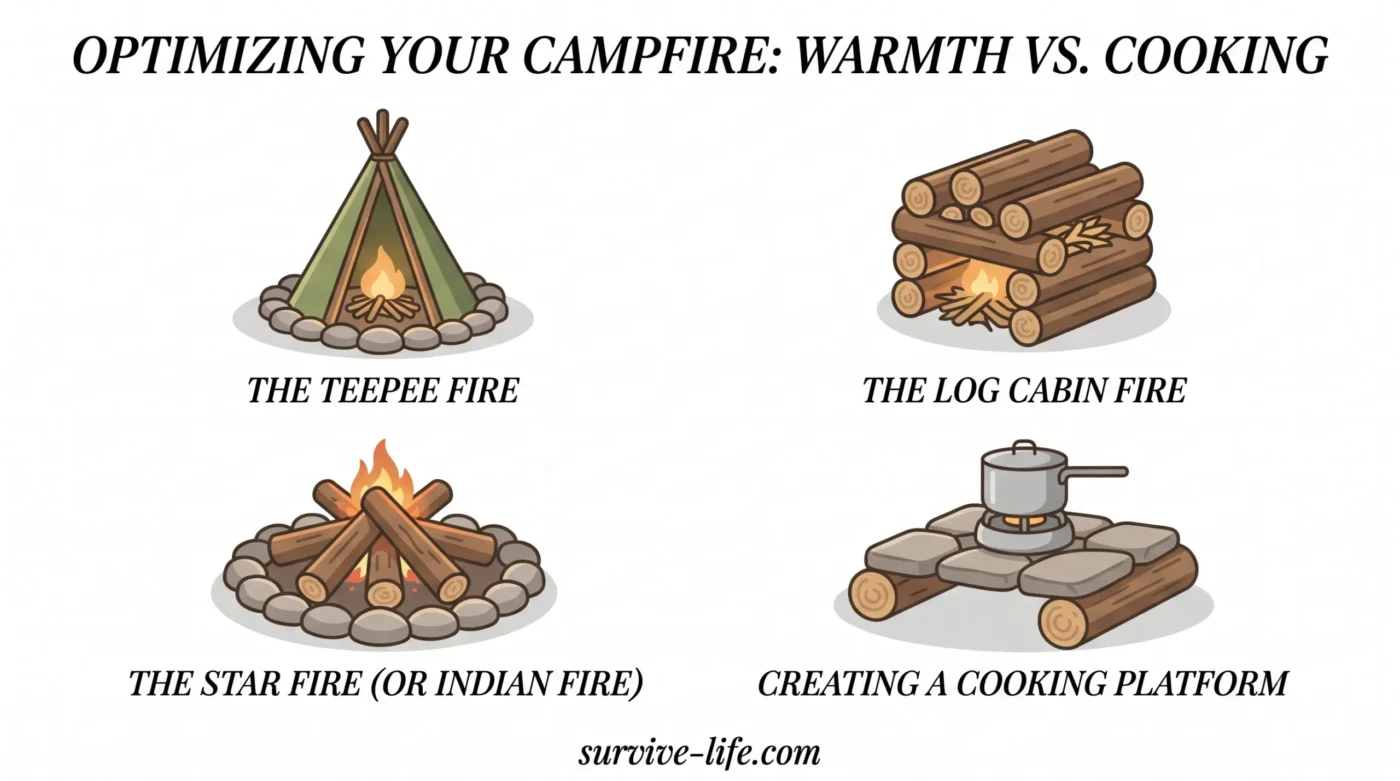
The Teepee Fire
This is a classic. Logs are leaned together in a cone shape over the kindling. The teepee fire is best for quick heat, initial warmth, and a bright, lively flame. It draws air efficiently, making it easy to start and get hot fast.
The Log Cabin Fire
For a more stable and long-lasting fire, build a log cabin. Logs are stacked in a square or rectangular shape, like a miniature cabin, with kindling in the center. This structure creates a strong, consistent bed of coals, making it excellent for sustained warmth or for placing pots directly on top or using a grill grate.
The Star Fire (or Indian Fire)
The star fire is incredibly efficient. Several long logs are laid out like spokes of a wheel, with their ends meeting in the center. As the ends burn, you simply push the logs further into the center. This fire is best for a slow, controlled burn and is excellent for cooking over the hot coals in the center, as you can easily manage the heat by adjusting the logs.
Creating a Cooking Platform
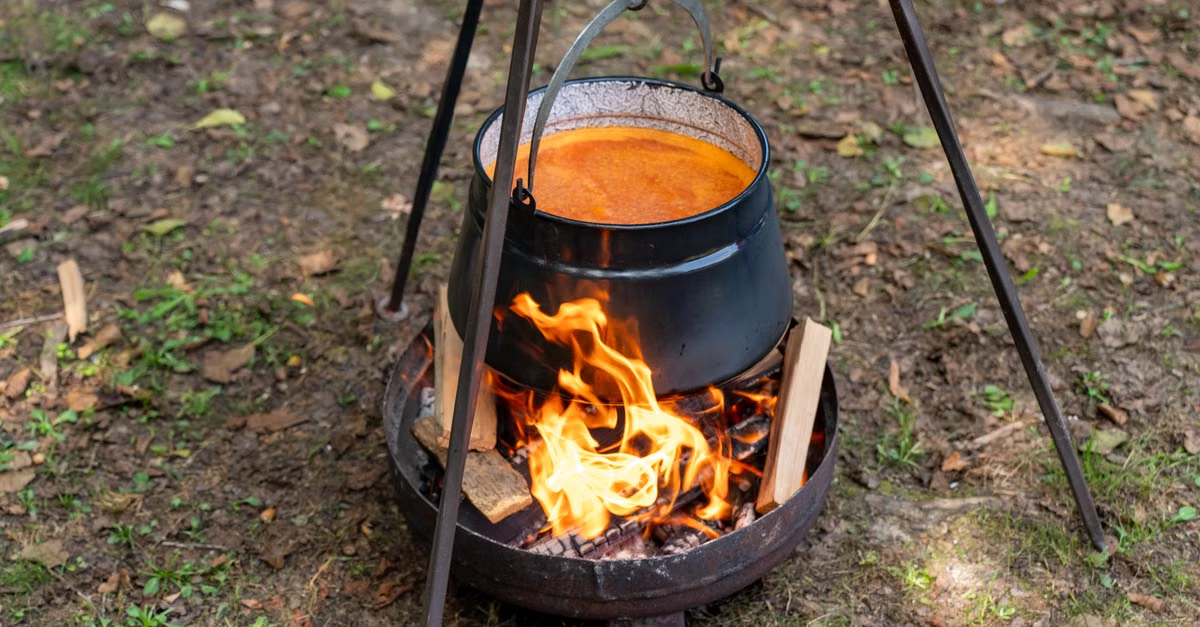
For optimal cooking, allow your fire to burn down to a bed of hot coals. Coals provide even, consistent heat without the scorching flames that can burn food. Use a grill grate placed over the coals, a tripod to suspend pots, or even a Dutch oven directly in the coals for a perfect outdoor meal.
Maintaining Your Fire and Maximizing Efficiency
A well-built fire needs proper maintenance to burn efficiently and safely throughout its use.
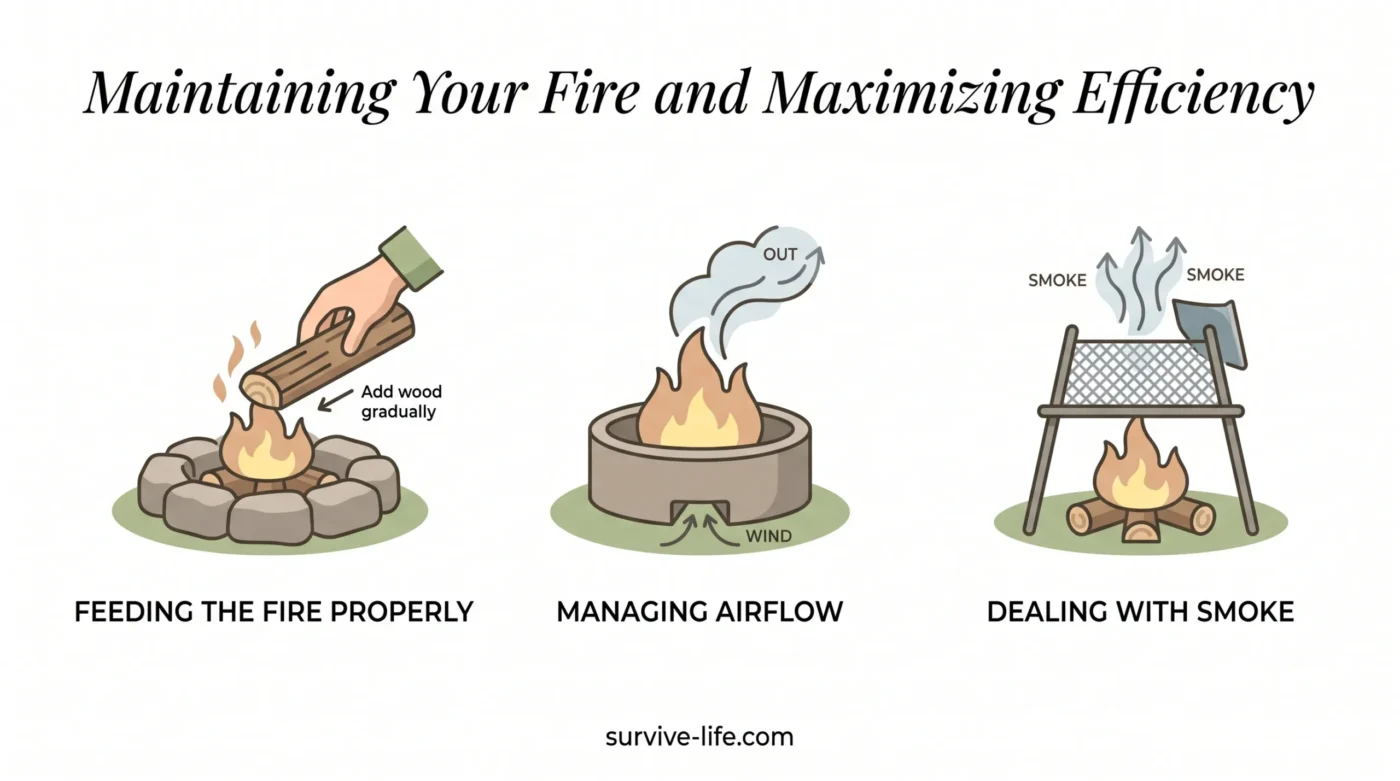
Feeding the Fire Properly
Add fuelwood gradually, one or two pieces at a time, to maintain a consistent flame without smothering it. Keep your larger logs for sustained heat, and use smaller ones for quick boosts when you need more flame. Don’t just dump a pile of wood on; be deliberate.
Managing Airflow
Ensure there’s always space between logs for oxygen to reach the flames. If your fire seems to be dying down or getting smoky, use a stick to gently adjust logs and create better air channels. A fire needs to breathe to burn hot and clean.
Dealing with Smoke
Excessive smoke often indicates wet wood or insufficient airflow. If your fire is smoking heavily, check your wood supply for dampness and adjust your logs to improve air circulation. Position yourself upwind of the fire to avoid getting smoke in your eyes, but remember that a well-burning fire produces very little smoke.
Leaving No Trace: Extinguishing Your Campfire Safely
Extinguishing your campfire completely is just as important as building it safely. A smoldering ember can reignite hours later and cause a devastating wildfire. Never leave a fire unattended, and always ensure it’s out cold before you depart.
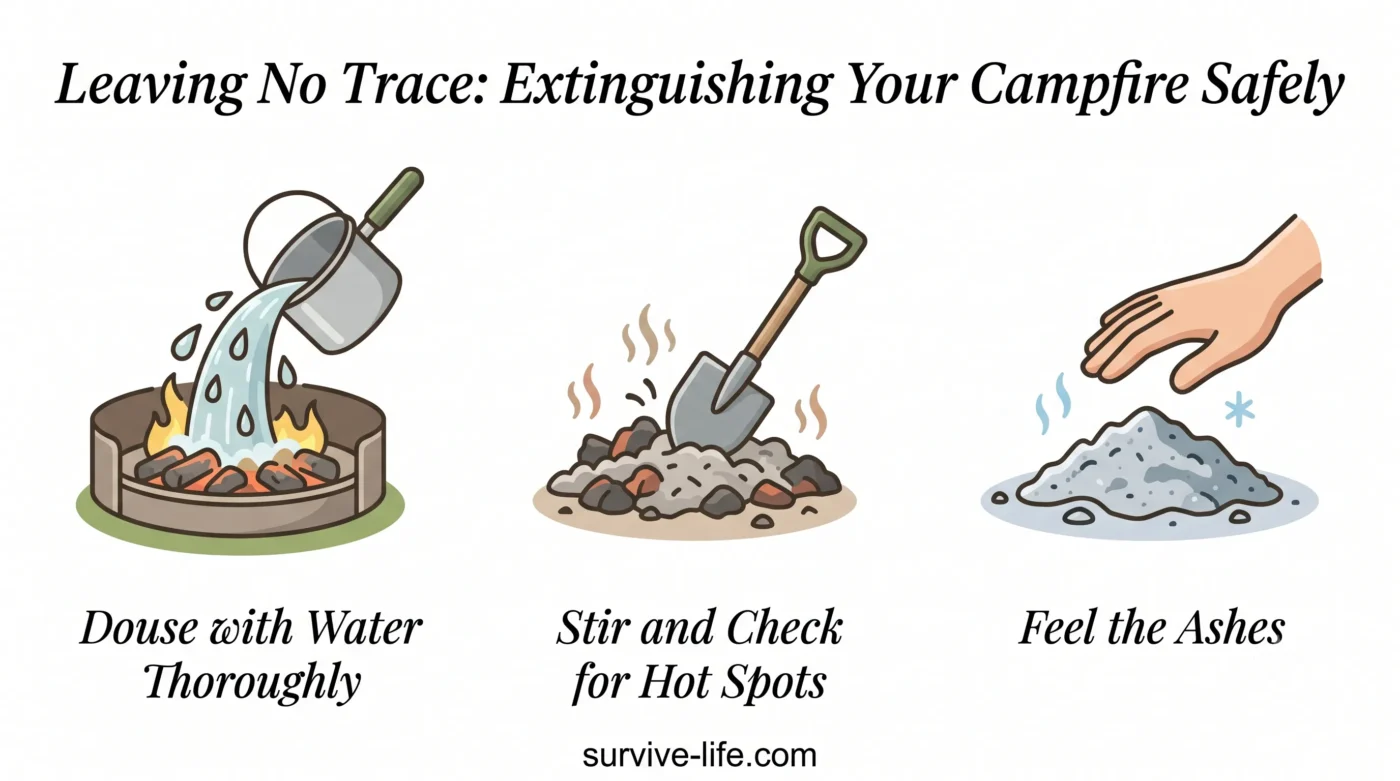
Douse with Water Thoroughly
Pour water over all embers and ashes until the sizzling stops. Be generous with the water, ensuring every part of the fire pit is saturated. You want to drown the fire, not just dampen it.
Stir and Check for Hot Spots
Use your shovel to stir the ashes and any remaining wood fragments. This exposes any hidden hot spots or embers. Continue to add water and stir until no steam or smoke is visible. You’re aiming for a muddy, cool mixture.
Feel the Ashes
This is the final, crucial step. Carefully place the back of your hand near the ashes (do not touch directly). The ashes must be cold to the touch before you leave the fire pit. If it’s still warm, repeat the douse and stir process until it’s completely cold. When in doubt, add more water.
Conclusion
Building the perfect campfire is a rewarding skill that enhances any outdoor experience. By understanding the principles of safety, fuel types, construction techniques, and proper extinguishment, you can confidently create a fire that provides both comforting warmth and a reliable cooking source. Practice makes perfect, and responsible fire building is a cornerstone of good outdoor ethics. So, gather your materials, follow these steps, and enjoy the timeless magic of a crackling campfire under the open sky.